Are you struggling to change the temperature units on your Vevor heat press from Celsius to Fahrenheit? Look no further! In this section, I will guide you through the process, step by step, ensuring a smooth transition to Fahrenheit settings.
Key Takeaways:
- Changing Vevor heat press from Celsius to Fahrenheit is a simple process.
- Refer to the Vevor 5-in-1 Heat Press Manual for detailed instructions.
- Read the manual thoroughly before using the heat press to ensure safety and proper usage.
- The manual provides a table of typical settings for common materials in Fahrenheit.
- By following the instructions, you can easily convert the temperature units to Fahrenheit and achieve accurate heat press results.
Introduction of Heat Press Machine
The Vevor heat press machine is a versatile device that uses heat and pressure to transfer designs onto various materials. Assembling and operating the machine correctly is crucial to ensure accurate temperature control and safe usage. The detailed instructions in the manual guide users through the process of assembling the heat press machine, including placing the head into the pillar, securely fastening the screws, and connecting the controller. It also provides a step-by-step explanation of the heat press operation, including adjusting the pressure, setting the temperature and time, and engaging the handle.
“The Vevor heat press machine is a reliable tool that allows users to efficiently transfer their designs onto different materials. Proper assembly and operation are key to achieving optimal results and avoiding any potential issues.”
To begin, ensure that all the components of the machine are included and undamaged. Review the manual thoroughly before starting the assembly process. Properly assembling the heat press machine is an essential first step. It ensures stable positioning of the heat plate and prevents any potential hazards during operation.
The assembly instructions typically consist of:
- Inserting the head into the pillar.
- Tightening the screws to secure the head.
- Connecting the heat press controller to the machine.
- Completing any additional required steps specific to the machine model.
Following the assembly process, it’s crucial to understand the operation of the heat press machine. This includes adjusting the pressure, setting the temperature and time accurately, and mastering the handle press.
“Proper assembly and operation of the heat press machine are essential for successful heat transfers. These steps ensure consistent and reliable results, allowing users to bring their designs to life with accuracy and ease.”
| Key Assembly Steps | Operation Techniques and Tips |
|---|---|
| 1. Insert the head into the pillar | – Adjust the pressure knob according to the material being pressed. – Ensure even distribution of pressure on the material. – Align the material with precision to avoid distortions or misprints. |
| 2. Tighten the screws to secure the head | – Use the appropriate tools to tighten the screws securely. – Confirm that the head is steady and fixed in place. – Avoid over-tightening the screws to prevent damage to the machine. |
| 3. Connect the heat press controller | – Follow the manual’s instructions on connecting the controller. – Double-check the connections to ensure proper functionality. – Familiarize yourself with the temperature and timer settings of the controller. |
| 4. Additional steps (machine-specific) | – Refer to the manual for any additional assembly instructions. – Carefully follow the guidelines to prevent any operational issues. – Seek technical assistance if encountering difficulties during assembly. |
Understanding the assembly and operation of the heat press machine sets the foundation for successful heat transfers. It empowers users to confidently embark on their creative projects, utilizing the full potential of the Vevor heat press machine.
Operation of Intelligent Temperature Controller
The intelligent temperature controller is a crucial component of the Vevor heat press machine, allowing users to have precise control over temperature and time settings. With a temperature range of 0-450°F and a time range of 0-999 seconds, the controller ensures accurate and consistent results for various applications.
To set the temperature and time, simply press the SETUP button on the controller. Use the +/- keys to adjust the values according to your requirements. This intuitive interface makes it easy to customize the temperature and time settings for different materials and designs.
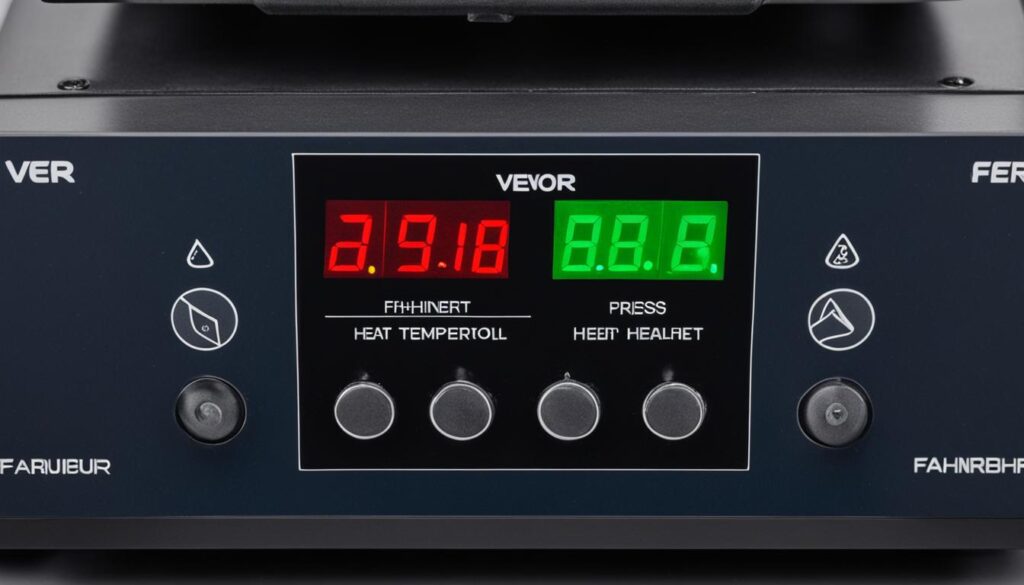
One of the notable features of the intelligent temperature controller is the ability to switch between Fahrenheit and Celsius units. By long-pressing the +/- buttons, users can easily toggle between the two temperature measurement systems. This feature ensures flexibility and convenience, allowing users to work with their preferred unit of measurement.
The intelligent temperature controller in the Vevor heat press machine provides precise control over temperature and time settings, enabling users to achieve accurate and consistent results for their heat transfer projects.
Temperature and Time Settings
The temperature and time settings on the intelligent temperature controller play a significant role in determining the success of each heat press job. The temperature setting determines how hot the heat platen will become, while the time setting determines how long the heat and pressure will be applied to the material.
When selecting the temperature and time settings, it is crucial to consider the type of material being used and the requirements of the transfer process. Each material may require a different temperature and time combination to achieve optimal results. It is recommended to consult the Vevor heat press manual or refer to temperature and time settings charts for specific materials.
Temperature Unit Change
The intelligent temperature controller allows users to easily switch between Fahrenheit and Celsius temperature units. To change the temperature unit, long-press the +/- buttons simultaneously for a few seconds. The interface will display the available temperature unit options. Use the SETUP button to select either Fahrenheit or Celsius, and then press the +/- buttons again to confirm the selection. Finally, press the SETUP button to exit the temperature unit change mode and resume normal operation.
Switching between temperature units ensures compatibility with different measurement systems and user preferences. Whether you work with Fahrenheit or Celsius, the Vevor heat press machine offers the flexibility to accommodate your needs.
| Temperature Unit | Symbol | Conversion Formula |
|---|---|---|
| Fahrenheit | °F | °C x 1.8 + 32 |
| Celsius | °C | (°F – 32) / 1.8 |
Switching between Fahrenheit and Celsius
The Vevor heat press machine offers the convenience of easily switching between Fahrenheit and Celsius temperature units. This feature allows users to select the unit that best suits their preference or specific application requirements.
To switch between Fahrenheit and Celsius units, simply follow these steps:
- Long-press the “+” and “-” buttons simultaneously for 4 seconds.
- The interface will display the available temperature unit options.
- Use the SETUP button to choose Fahrenheit or Celsius.
- Press the “+” or “-” button to confirm your selection.
- Press the SETUP button again to exit the temperature switch mode.
This straightforward process ensures that users can quickly and effortlessly switch between temperature units whenever needed.
Whether you prefer working with Fahrenheit or Celsius, the Vevor heat press machine adapts to your temperature unit preferences, providing a seamless experience for all your heat pressing needs.
Temperature Unit Conversion
| Celsius | Fahrenheit |
|---|---|
| 100°C | 212°F |
| 150°C | 302°F |
| 200°C | 392°F |
| 250°C | 482°F |
| 300°C | 572°F |
Refer to the table above for a quick reference when converting between Celsius and Fahrenheit temperature units. This table can be especially helpful when setting the desired temperature for specific heat press applications.
With the Vevor heat press machine, you’re in control of choosing the temperature unit that suits your needs. Switch effortlessly between Fahrenheit and Celsius to achieve the perfect temperature for your heat transfer projects.
Assembly and Uses of Cap Press
In addition to its versatile functionalities, the Vevor heat press machine offers a cap press attachment that allows users to effortlessly press unique designs onto caps and hats, creating customized pieces with a personal touch. To ensure successful assembly and unleash the full potential of the cap press attachment, follow these step-by-step instructions:
- Begin by securely locking two cup head screws into the hole located in the middle of the cap press.
- Next, carefully clip the cup head screw into the designated slot, following the indicated route. Use a screwdriver to lock it firmly in place.
- Now, connect the male head of the cap press plug to the female head of the controller, making sure it fits securely.
- Finally, tighten the nut to ensure a stable connection between the cap press attachment and the heat press machine.
Once assembled, the cap press attachment opens up a world of creative possibilities. Whether you want to add a logo, artwork, or text, the cap press allows you to effortlessly transfer your designs onto caps and hats. Showcase your personal style or create unique promotional items with ease, thanks to Vevor’s cap press attachment.
Now, let’s delve into the exciting uses of the cap press attachment in heat press applications:
- Create branded merchandise: Utilize the cap press attachment to add logos, slogans, or team emblems to caps and hats. This is an excellent option for businesses, sports teams, or event organizers looking to enhance their branding and create a professional look.
- Customize fashion accessories: Add personalized designs, patterns, or artwork to caps and hats to showcase your style and unique personality. Whether it’s for yourself or as a thoughtful gift, the cap press attachment allows you to create one-of-a-kind fashion accessories.
- Promote your cause: Spread awareness and support for a cause or event by using the cap press attachment to transfer meaningful designs onto caps and hats. This is an effective way to raise funds, create a sense of unity, or generate buzz for a specific cause.
Unleash your creativity and explore the endless possibilities offered by the cap press attachment of the Vevor heat press machine. Whether for personal use, promotional purposes, or custom merchandise production, the cap press attachment helps you achieve professional results with ease.
| Benefits of Cap Press Attachment | Applications |
|---|---|
| Effortlessly press designs onto caps and hats | Create branded merchandise |
| Customize fashion accessories | Customize fashion accessories |
| Quick and easy application | Promote your cause |
In conclusion, the Vevor heat press machine’s cap press attachment offers a simple and efficient solution for pressing designs onto caps and hats. By following the assembly instructions and unleashing your creativity, you can create personalized items, promote your business, or support a cause. Seamlessly integrate the cap press attachment into your heat press workflow and add a touch of individuality to your designs.
Assembly and Uses of Mug Press
The Vevor heat press machine offers a versatile solution for customizing mugs and cups with its mug press attachment. With this attachment, you can effortlessly press unique designs onto mugs, allowing for personalization and creativity. To get started, it’s important to assemble the mug press properly.
To assemble the mug press, you need to connect it to the corresponding mug attachment using the provided bolts. The mug attachments come in different sizes to accommodate various mug sizes, ensuring a snug and secure fit.
Once you have assembled the mug press, you are ready to unleash your creativity! Using the Vevor heat press machine, you can easily transfer designs onto mugs and cups, adding a touch of uniqueness to your collection or creating personalized gifts for your loved ones.
Whether you are a hobbyist or a business owner, the mug press attachment opens up endless possibilities for creating custom designs on mugs and cups. From personalizing coffee mugs with names and photos to adding logos and artwork onto cups, there are countless ways to make your mark with the Vevor heat press machine.
Discover the joy of personalized mugs and cups with the Vevor mug press attachment, and let your creativity shine through.
Advantages of Using the Vevor Mug Press
| Advantages | Description |
|---|---|
| Customization | Allows for personalized designs on mugs and cups |
| Professional Results | Ensures high-quality and durable transfers |
| Efficiency | Quick and easy process for creating custom mugs |
| Versatility | Compatible with a range of mug sizes and shapes |
| Profitability | Great for personalized gift businesses and crafters |
Assembly and Uses of Plate Press
The Vevor heat press machine offers a plate press attachment that allows users to press designs onto plates, adding a decorative touch to these items. The plate press assembly is a straightforward process that involves installing the ceramic plate attachment onto the heat press machine using the same bolts as the flat platen.
Once the plate press is fully assembled, it can be used to create stunning designs on plates. The heat and pressure applied by the plate press ensure that the design adheres firmly to the plate surface, resulting in a long-lasting and professionally finished product.
Whether you want to add personalized designs to commemorative plates, dinnerware, or decorative plates, the plate press attachment is a valuable tool. It allows you to unleash your creativity and create unique pieces that make great gifts or additions to your own collection.
With the Vevor heat press machine and its plate press attachment, you can transform ordinary plates into customized works of art. The possibilities are endless, limited only by your imagination.
| Benefits of Using the Plate Press Attachment | Uses of the Plate Press Attachment |
|---|---|
| 1. Easy assembly process | 1. Adding personalized designs to commemorative plates |
| 2. Firm adherence of designs to plate surface | 2. Creating custom dinnerware |
| 3. Professional and long-lasting results | 3. Designing decorative plates |
| 4. Versatile tool for unleashing creativity | 4. Making unique gifts |
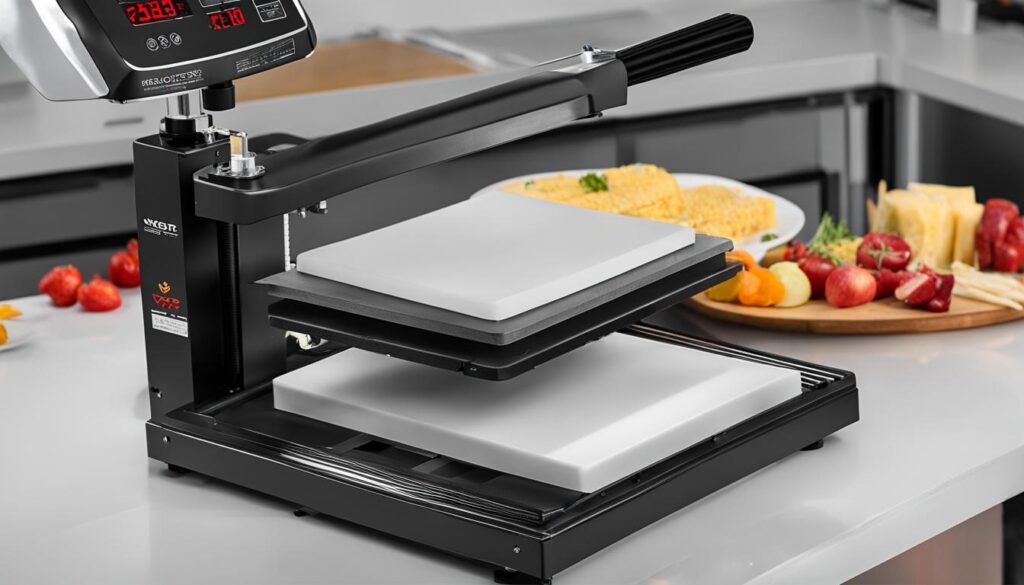
Unlock the full potential of your Vevor heat press machine with the plate press attachment. Start creating beautiful designs on plates today and bring your artistic vision to life!
Method of Use
To effectively use the Vevor heat press machine for your transfer projects, follow these step-by-step instructions:
-
Adjust the pressure: Before starting, make sure to adjust the pressure based on the material you will be working with. This will ensure the proper application of heat and pressure during the transfer process.
-
Plug in and power on: Connect the power cord to a suitable outlet and turn on the power switch of the heat press machine.
-
Set temperature and time: Use the intelligent temperature controller to set the desired temperature and time for your transfer. This controller allows precise adjustments in the range of 0-450°F and 0-999 seconds.
-
Start the countdown: Press the button on the temperature controller to initiate the countdown. The machine will heat up to the set temperature before starting the countdown.
-
Prepare the item and design: Place the item you want to press onto the platen, ensuring that it is positioned correctly. Align the design or transfer paper on top of the item, making any necessary adjustments.
-
Press the item: Pull down the handle of the heat press machine firmly, applying the necessary pressure to transfer the design onto the item. The machine will automatically start the countdown based on the set time.
-
Complete the transfer: Once the countdown is complete, you will hear a sound indicating that the transfer process is finished. Lift the handle to release the pressing pressure and carefully remove the item from the platen.
Remember to follow safety precautions and refer to the Vevor heat press machine manual for any specific instructions related to your model. With these guidelines, you can confidently and efficiently use the Vevor heat press machine for your transfer projects.
Treatment of Quality Defects in Transfer
Sometimes, during the heat press transfer process, quality defects may occur that can affect the overall outcome of the design. These defects could include a light color or faded image, a fuzzy image, blurred parts of the pattern, a dim pattern, a scarred pattern, different pattern colors, or a scorched pattern. Addressing these issues is crucial to ensure high-quality heat press transfers.
To effectively troubleshoot and address transfer defects, it is important to identify their possible causes. Common causes of these defects can include:
- Insufficient temperature: Inadequate heat can result in a light or faded image.
- Incorrect pressure: Applying too little or too much pressure can cause a fuzzy image or blurred parts of the pattern.
- Insufficient time: Not allowing enough time for the design to transfer properly can result in a dim pattern.
- Excessive pressing time: Over-pressing can lead to a scarred pattern with distorted or uneven colors.
- Uneven heat distribution: Inconsistent heat across the heat press platen can cause variations in color and pattern integrity.
- Excessive pressure or temperature: Applying too much pressure or heat can result in distorted colors or a scorched pattern.
- Poor ink or transfer paper quality: Subpar ink or low-quality transfer paper can lead to inferior transfer results.
By understanding the possible causes, users can take appropriate corrective measures to improve the quality of their heat press transfers. Addressing these issues may involve adjusting the temperature, pressure, or pressing time, ensuring even heat distribution, and using high-quality ink and transfer paper. Conducting tests and trials on scrap materials can also help identify the optimal settings and techniques for achieving superior heat press transfer results.
Remember to refer to the Vevor 5-in-1 Heat Press Manual for specific troubleshooting guidance and instructions tailored to your machine.
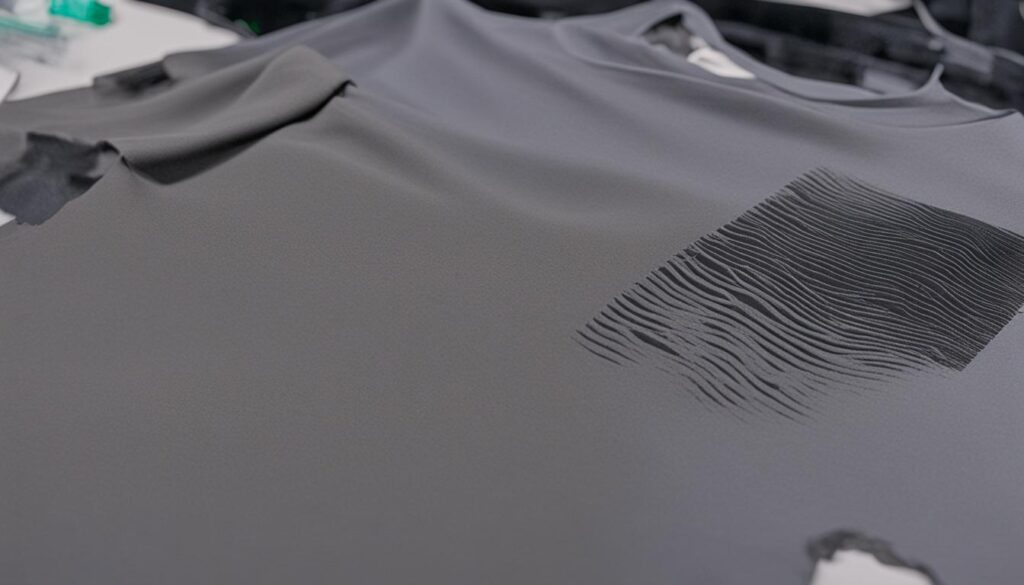
Continue reading to learn about important safety precautions and warnings when using the Vevor heat press machine.
Warnings
When using the Vevor heat press machine, it is vital to prioritize safety precautions to ensure a secure and effective operation. Failure to adhere to these precautions can result in accidents and damage to the machine or materials. Here are some essential safety measures to follow:
- Check voltage and ensure proper grounding: Before using the heat press, verify that the voltage matches the machine’s specifications and that it is correctly grounded. This ensures a stable electrical connection and reduces the risk of electrical hazards.
- Avoid prolonged burning of heating parts: Overheating the heating elements for an extended period can lead to malfunctions or even fire. Always observe the recommended temperature and time settings provided in the manual.
- Avoid unprotected contact with heated surfaces: The platen and other components of the heat press can reach high temperatures during operation. Never touch these surfaces without appropriate protective gear, as it can cause burns or other injuries.
- Adjust pressure as needed: Proper pressure is crucial for achieving quality transfers. However, excessive pressure can damage the machine or materials. Adjust the pressure according to the instructions and the specific requirements of your project.
- Securely lock the head and handle: Ensure that the head and handle of the heat press are securely locked before operation. Loose or unlocked components can result in accidents or poor transfer results.
- Keep the machine away from minors: The heat press machine involves high temperatures and mechanical components. To prevent accidents, it should be kept out of reach of children and only used under adult supervision.
The manual provided with the Vevor heat press machine contains additional warnings and safety information. These include guidelines for proper handling of the supply cord, proper disposal of the product at the end of its lifespan, and compliance with safety regulations. It is crucial to read and understand these warnings to ensure the safe and effective use of the machine.
By following the recommended safety precautions and being aware of the potential risks, users can confidently operate the Vevor heat press machine while ensuring their own safety and the longevity of the equipment.
Conclusion
The Vevor heat press machine is a versatile tool that offers a wide range of features for heat transfers onto various materials. With its multiple attachments for caps, mugs, plates, and more, users can easily customize and personalize their items.
One of the standout features of the Vevor heat press machine is the intelligent temperature controller, which allows for precise temperature and time settings. This ensures that users can achieve accurate and consistent results with every heat press transfer.
The detailed instructions provided in the manual guide users through the assembly, operation, and troubleshooting of the heat press machine. Additionally, the manual includes valuable tips for achieving optimal heat press transfers, helping users make the most out of their machine.
By using the Vevor heat press machine correctly and following the safety precautions outlined in the manual, users can enjoy a safe and effective customization experience. Whether it’s for personal projects or small businesses, the Vevor heat press machine is a reliable tool for creating unique designs on a variety of materials.
FAQ
How do I change the Vevor heat press from Celsius to Fahrenheit?
To change the temperature unit from Celsius to Fahrenheit on the Vevor heat press, long-press the “+” and “-” buttons simultaneously for 4 seconds. Use the SETUP button to choose the desired unit (Fahrenheit or Celsius) and use the “+” or “-” button to confirm the selection. Press the SETUP button again to exit the temperature switch mode.
How do I assemble the Vevor heat press machine?
To assemble the Vevor heat press machine, follow the instructions provided in the manual. These instructions include putting the head into the pillar, securing the screws, and connecting the controller. It is important to read the manual thoroughly before assembly to ensure proper usage and avoid accidents.
How do I use the intelligent temperature controller on the Vevor heat press?
The intelligent temperature controller on the Vevor heat press allows users to set and adjust the temperature and time for their desired application. Press the SETUP button to access the temperature and time settings and use the +/- keys to adjust them. The controller has a temperature range of 0-450°F and a time range of 0-999 seconds.
Can I switch between Fahrenheit and Celsius temperature units on the Vevor heat press?
Yes, the Vevor heat press machine allows users to easily switch between Fahrenheit and Celsius temperature units. To switch the units, long-press the “+” and “-” buttons at the same time for 4 seconds. Use the SETUP button to choose the desired unit (Fahrenheit or Celsius) and use the “+” or “-” button to confirm the selection. Press the SETUP button again to exit the temperature switch mode.
How do I assemble and use the cap press attachment on the Vevor heat press?
To assemble the cap press attachment on the Vevor heat press, lock two cup head screws into the hole in the middle of the cap press and secure them with a screwdriver. Connect the male head of the cap press plug to the female head of the controller and tighten the nut. The cap press attachment can be used to press designs onto caps and hats, adding a personalized touch.
How do I assemble and use the mug press attachment on the Vevor heat press?
To assemble the mug press attachment on the Vevor heat press, connect the press to the appropriate mug attachment using the provided bolts. The mug attachments come in different sizes to accommodate different mug sizes. Once assembled, the mug press can be used to press designs onto mugs and cups, allowing for customization and personalization.
How do I assemble and use the plate press attachment on the Vevor heat press?
To assemble the plate press attachment on the Vevor heat press, install the ceramic plate attachment onto the heat press machine using the same bolts as the flat platen. Once assembled, the plate press can be used to press designs onto plates, adding a decorative element to these items.
What is the method of use for the Vevor heat press machine?
To use the Vevor heat press machine, adjust the pressure as needed and plug in the power cord, then turn on the power switch. Set the desired temperature and time using the intelligent temperature controller. Once the temperature reaches the desired level, place the item to be pressed on the platen, position the design, and pull down the handle to press the item. After the countdown is complete, a sound will be heard, indicating that the work is done. Lift the handle to remove the item from the heat press.
How can I address quality defects in heat press transfers?
Quality defects in heat press transfers can be addressed by identifying possible causes such as insufficient temperature, incorrect pressure, insufficient time, excessive pressing time, uneven heat distribution, excessive pressure or temperature, poor ink or transfer paper quality. By understanding the possible causes, users can take appropriate corrective measures to improve the quality of their heat press transfers.
What safety precautions should I follow when using the Vevor heat press machine?
When using the Vevor heat press machine, it is important to check the voltage and ensure proper grounding, avoid prolonged burning of heating parts, avoid unprotected contact with heated surfaces, adjust pressure as needed, securely lock the head and handle, and keep the machine away from minors. The manual also provides warnings regarding the supply cord, disposal of the product, and compliance with safety regulations.
What features does the Vevor heat press machine offer?
The Vevor heat press machine is a versatile tool for heat transfers onto various materials. It offers multiple attachments for pressing designs onto caps, mugs, plates, and more. The intelligent temperature controller allows for precise temperature and time settings, ensuring accurate and consistent results. The machine also comes with a manual that provides detailed instructions on assembly, operation, and troubleshooting, as well as tips for achieving optimal heat press transfers.
