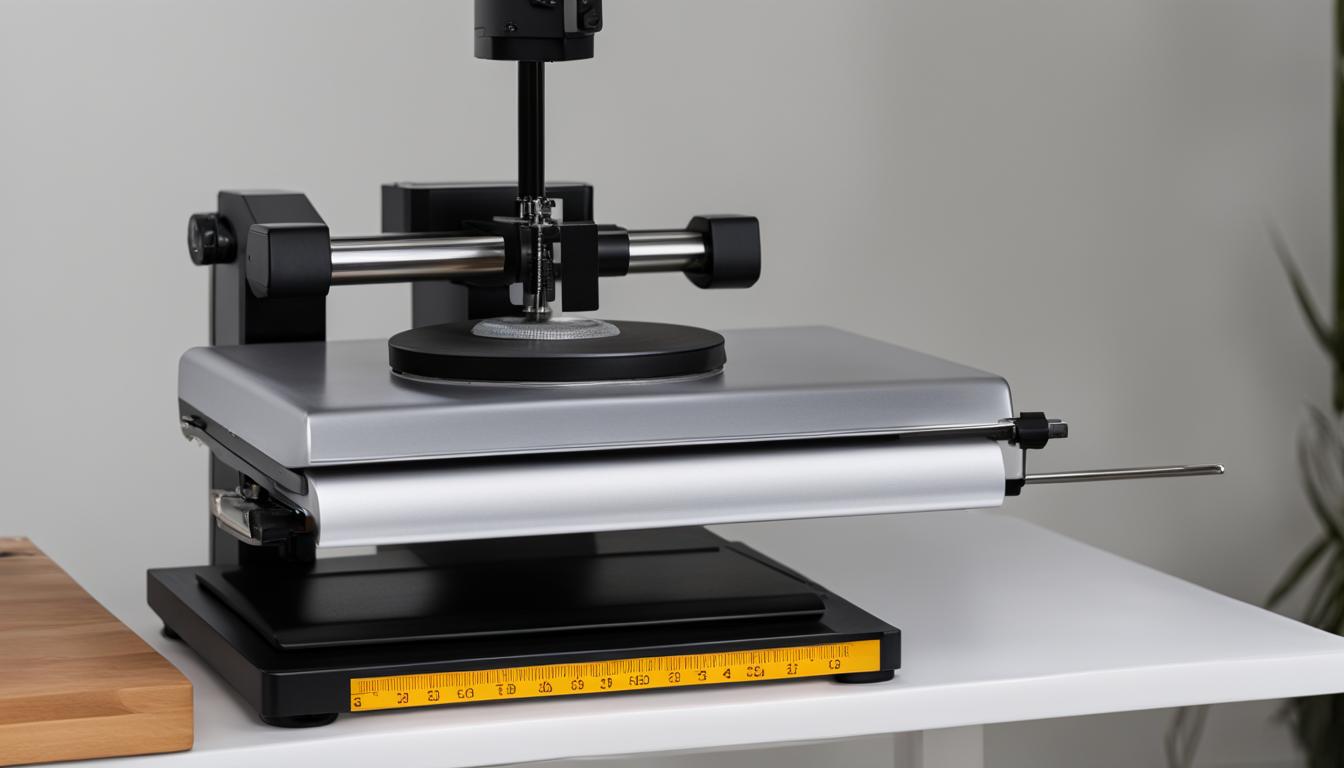
If you have a heat press machine that is set to Celsius and you need to change it to Fahrenheit, I will guide you through a few simple steps. These methods work for various models of heat press machines, allowing you to accurately set the temperature for your projects.
Key Takeaways:
- Changing the temperature unit on a heat press machine is a straightforward process.
- There are multiple methods to convert the temperature from Celsius to Fahrenheit.
- Always consult the user manual or seek advice from reputable dealers or experts if you encounter any issues or have further questions.
- Accurate temperature settings are crucial for achieving optimal results with your heat press projects.
- Follow the step-by-step instructions outlined in this article to switch your heat press from Celsius to Fahrenheit.
In the sections below, I will provide detailed instructions for two methods to change the temperature settings on your heat press machine, as well as specific guidance for using the Cricut EasyPress 3. Whether you need to adjust the settings using arrow keys or the mode button, or if you prefer to utilize the Cricut Heat app, you will find the information you need to switch your heat press from Celsius to Fahrenheit.
Method 1: Changing Settings Using Arrow Keys
One of the easiest ways to convert your heat press temperature from Celsius to Fahrenheit is by using the arrow keys on your machine. Follow these simple steps to make the adjustment:
- Start by powering on your heat press machine.
- Locate the temperature control panel, usually found on the front or side of the machine.
- Press the “Mode” or “Temperature” button to enter the settings menu.
- Using the arrow keys, navigate to the “Unit” or “Temperature Unit” option. Press the “Enter” or “OK” button to select it.
- Choose “F” or “Fahrenheit” from the available options.
- Once you have selected Fahrenheit, press the “Enter” or “OK” button to save the changes.
Now your heat press machine should be set to display temperatures in Fahrenheit instead of Celsius. Remember to refer to your machine’s user manual for specific instructions or consult with the manufacturer if you encounter any difficulties.
Note: It’s important to adjust the temperature unit on your heat press to ensure accurate temperature settings. Operating your machine in the correct unit will help you achieve better results and prevent any damage to your heat transfer projects.
| Steps to Convert Heat Press from Celsius to Fahrenheit |
|---|
| Power on your heat press machine. |
| Locate the temperature control panel. |
| Press the “Mode” or “Temperature” button to enter the settings menu. |
| Use the arrow keys to navigate to the “Unit” or “Temperature Unit” option. |
| Select “F” or “Fahrenheit” from the available options. |
| Save the changes and ensure your heat press is now set to Fahrenheit. |
Method 2: Changing Settings Using Mode Button
If the first method doesn’t work for your heat press machine, you can try this alternative method using the mode button:
- First, locate the mode button on your heat press machine.
- Press and hold the mode button for a few seconds until the temperature or unit settings appear on the display.
- Use the arrow keys or the +/- buttons to navigate to the temperature settings.
- Once you’ve selected the temperature settings, press the mode button again to confirm your choice.
- The temperature unit should now be set to Fahrenheit.
If you are unsure about any of the steps, consult the user manual provided with your heat press machine for detailed instructions specific to your model.
Note: The process of changing settings using the mode button may vary depending on the make and model of your heat press machine. Always refer to the manufacturer’s guidelines for accurate instructions.
Once you have successfully adjusted the temperature unit to Fahrenheit, you can proceed with using your heat press machine for your desired projects.
If you need further assistance or encounter any issues during the process, it is recommended to reach out to the manufacturer’s customer support or seek advice from reputable experts in the field.
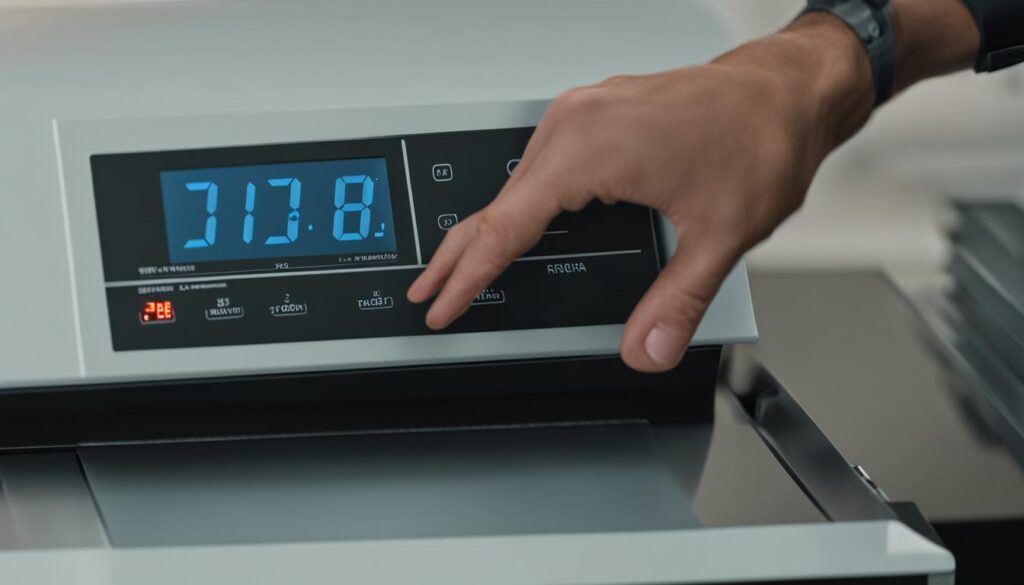
Using the Cricut EasyPress 3: Adjusting Temperature Settings
If you’re using the Cricut EasyPress 3, you’ll be pleased to know that it offers adjustable time and temperature settings to meet your specific needs. Whether you’re working with heat transfer vinyl or sublimation projects, having precise control over the temperature is crucial for achieving professional results.
To ensure the EasyPress 3 is set to the temperature unit you prefer, whether it’s Celsius or Fahrenheit, follow these simple steps:
- Power on the EasyPress 3 by pressing the power button.
- Wait for the machine to heat up to the default temperature setting.
- Press and hold the Temperature button until the screen displays the current temperature unit (either Celsius or Fahrenheit).
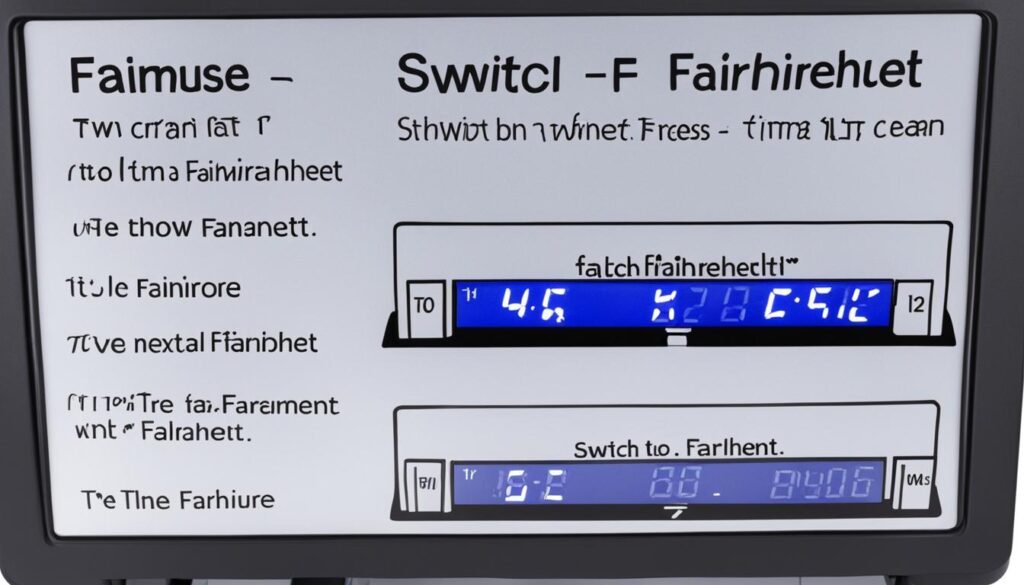
- While still holding the Temperature button, use the arrow keys to switch between Celsius and Fahrenheit.
- Release the Temperature button once your desired temperature unit is selected.
By switching the temperature unit on the EasyPress 3, you can ensure that you’re working with the measurement system that you’re most comfortable and familiar with. This will help you accurately set the temperature for your heat press projects.
To visually guide you through the process, here’s a step-by-step tutorial:
>
Using the Cricut EasyPress 3: Adjusting Time Settings
When working with a Cricut EasyPress 3, it’s essential to adjust the time settings according to your project requirements. Whether you’re applying heat transfer vinyl or sublimation prints, setting the correct time ensures optimal results. Here’s a step-by-step guide to adjusting the time settings on the Cricut EasyPress 3:
- Power on your Cricut EasyPress 3 and give it a few moments to heat up to the desired temperature.
- Once the EasyPress 3 has reached the desired temperature, press the “Mode” button to enter the time adjustment mode.
- Use the arrow keys to set the desired time. The time can be adjusted in one-second increments for precise control.
- After setting the desired time, press the “Mode” button again to save the changes and exit the time adjustment mode.
Remember, the appropriate time setting depends on the type of material, transfer method, and design complexity. It’s always a good idea to refer to the heat transfer material manufacturer’s instructions for recommended time ranges.
By adjusting the time settings on your Cricut EasyPress 3, you can achieve professional-quality results on a wide range of heat transfer projects.
| Material Type | Transfer Method | Time (Celsius) | Time (Fahrenheit) |
|---|---|---|---|
| Cotton | Heat Transfer Vinyl | 20 seconds | 68 seconds |
| Polyester | Sublimation | 30 seconds | 86 seconds |
| Nylon | Heat Transfer Vinyl | 15 seconds | 59 seconds |
Using the Cricut Heat App for EasyPress 3
If you own a Cricut EasyPress 3, you can take advantage of the convenient Cricut Heat app to adjust your heat press settings wirelessly. This app simplifies the process of switching your heat press from Celsius to Fahrenheit, allowing you to change the thermometer settings effortlessly.
With the Cricut Heat app, you can easily switch your heat press to Fahrenheit by following these steps:
- Download and install the Cricut Heat app from your device’s app store.
- Open the app and ensure that your EasyPress 3 is connected to your device via Bluetooth.
- Select your EasyPress 3 from the list of connected devices in the app.
- Navigate to the settings menu within the app.
- Look for the thermometer settings option and select it.
- Switch the temperature unit from Celsius to Fahrenheit.
- Save the changes and disconnect your EasyPress 3 from the app.
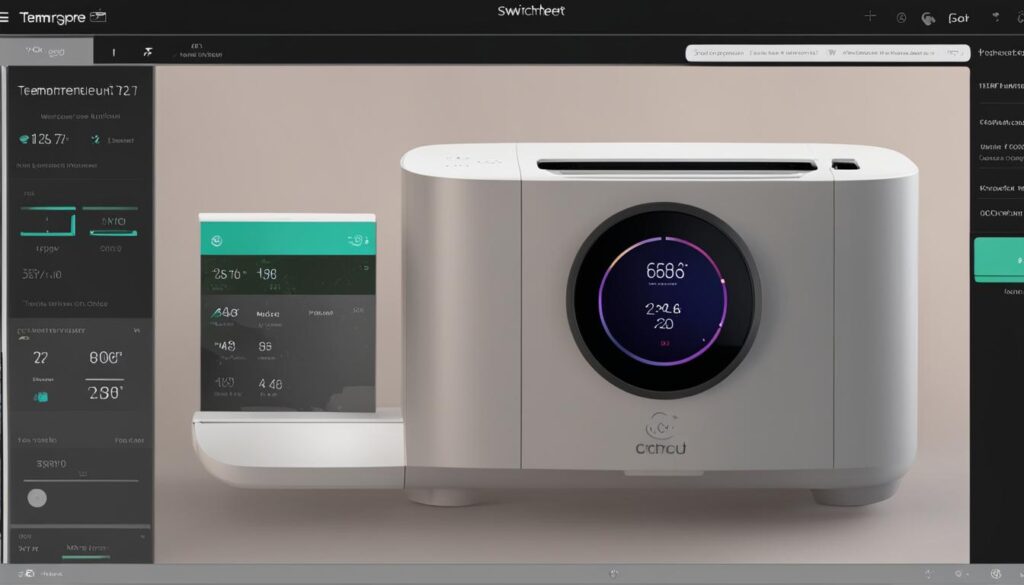
The Cricut Heat app provides a user-friendly interface that allows you to make these adjustments with ease. Whether you need to switch your heat press for a specific project or prefer to work in Fahrenheit, the Cricut Heat app gives you the flexibility to change the thermometer settings to fit your needs.
“The Cricut Heat app simplifies the process of switching your heat press from Celsius to Fahrenheit. It’s a game-changer!” – Cricut enthusiast
By utilizing the Cricut Heat app, you can conveniently convert your heat press from Celsius to Fahrenheit, ensuring accurate temperature settings for your projects. Say goodbye to manual adjustments and enjoy the convenience of wireless control with the Cricut Heat app.
| Benefits of the Cricut Heat App for EasyPress 3 |
|---|
| Convenient and user-friendly interface |
| Wirelessly adjust thermometer settings |
| Effortlessly switch from Celsius to Fahrenheit |
| Save time and eliminate manual adjustments |
| Flexibility to customize temperature settings |
Creating Custom Settings with the Cricut Heat App
With the Cricut Heat app, you have the flexibility to create custom time and temperature settings for your EasyPress 3. This allows you to tailor your heat press to the specific requirements of your projects, ensuring precise and consistent results.
By following these simple steps, you can easily adjust the heat press temperature settings in both Celsius and Fahrenheit:
- Open the Cricut Heat app on your smartphone or tablet.
- Connect your device to the EasyPress 3 using Bluetooth.
- Select the heat press device from the app’s menu.
- Navigate to the “Settings” or “Customize” section.
- Choose the desired time and temperature values for your custom setting.
- Save the custom setting by selecting the “Save” or “Apply” button.
Once you’ve created your custom settings, you can easily access them whenever you need them. This feature is particularly useful for recurring projects that require consistent temperature and time parameters.
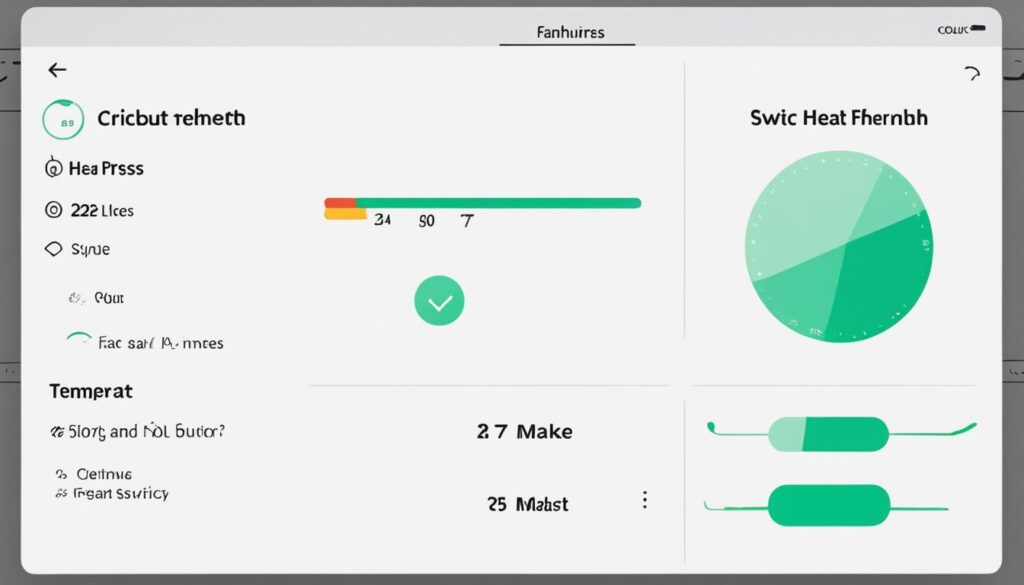
With the Cricut Heat app, adjusting heat press temperature to Fahrenheit is quick and hassle-free. You can experiment with different settings to achieve the desired results for your heat press projects. Whether you’re working with delicate fabrics, heat transfer vinyl, or sublimation materials, the Cricut Heat app empowers you to take control of your heat press settings.
Tips for Using Heat Press Machines
When it comes to using heat press machines, there are a few important tips to keep in mind for optimal results. Whether you’re working with different temperature settings or adjusting the thermometer on your heat press, these tips will help you achieve the desired outcome:
- Follow the manufacturer’s instructions: Before using your heat press machine, it’s crucial to read and understand the user manual. Each machine may have specific guidelines and settings, so make sure you are familiar with them.
- Preheat the machine: Before starting any heat pressing project, it’s recommended to preheat your machine to the desired temperature. This helps ensure consistent results and prevents any residual moisture or contaminants from affecting the final outcome.
- Use proper temperature settings: Make sure to set the temperature on your heat press machine according to the material you are working with. Refer to the recommended temperature guidelines for different fabrics and materials to prevent any damage or unsatisfactory results.
- Check the thermometer settings: If your heat press machine has a thermometer, ensure it is set to the correct unit of measurement (Celsius or Fahrenheit) for your desired temperature display. Follow the instructions provided by the manufacturer to change the thermometer settings if needed.
- Perform test runs: It’s always a good idea to perform a test run on a few scrap pieces of fabric or materials before starting a larger project. This allows you to fine-tune your temperature settings and ensures that the heat press machine is working properly.
- Apply even pressure: One crucial factor in achieving successful heat transfers is applying even pressure across the entire design area. Avoid pressing too hard or too lightly, as this can result in inconsistencies or incomplete transfers.
Remember, practice makes perfect! Don’t be discouraged if your first few heat press projects don’t turn out as expected. With time, experience, and these handy tips, you’ll become a pro at using heat press machines and achieving fantastic results.
Quick-reference Table: Heat Press Temperature Conversions
| Temperature Setting | Celsius | Fahrenheit |
|---|---|---|
| Low | 120°C | 248°F |
| Medium | 160°C | 320°F |
| High | 200°C | 392°F |
Use this handy table as a reference guide for converting heat press temperature settings between Celsius and Fahrenheit. It ensures you set the appropriate temperature for your specific heat press project, taking the guesswork out of temperature adjustments.
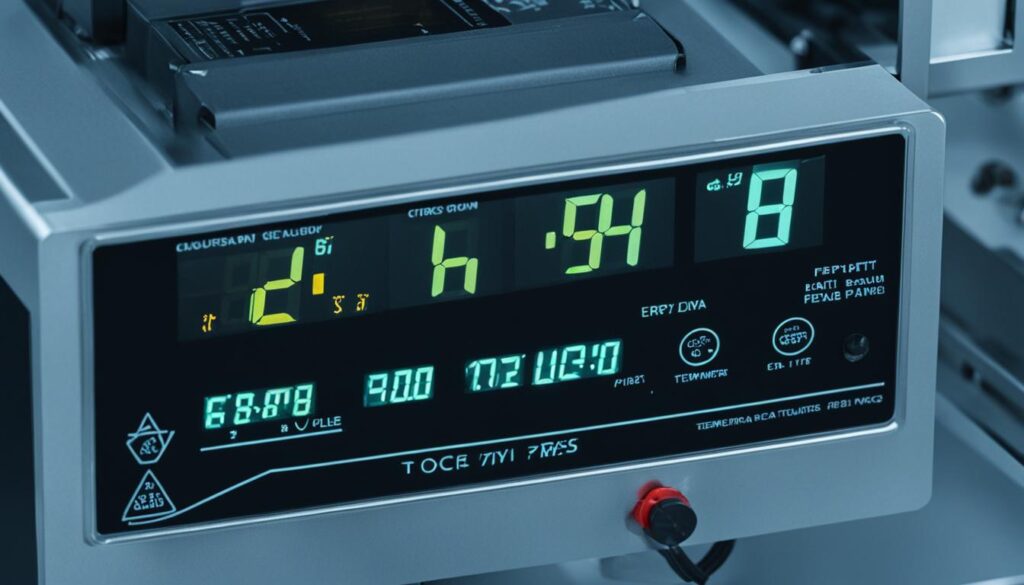
With these tips and a clear understanding of temperature settings, thermometer adjustments, and proper heat press techniques, you’ll be well-equipped to create stunning heat transfer designs with precision and ease.
Conclusion
Switching a heat press machine from Celsius to Fahrenheit is a simple and straightforward process. By following the step-by-step methods outlined above, you can easily convert the temperature settings on your heat press machine to ensure accurate and precise results for your projects.
Whether you choose to change the settings using the arrow keys, the mode button, or utilize the Cricut EasyPress 3 and Cricut Heat app, it’s important to consult the user manual specific to your machine for detailed instructions. Additionally, seeking assistance from reputable dealers or experts can provide further guidance and support.
Remember, maintaining the correct temperature is crucial for achieving professional-quality heat press applications. Regularly calibrating and monitoring your machine’s temperature settings will help ensure consistent, reliable results.
As you embark on your heat press journey, keep in mind the valuable tips shared throughout this guide. From adjusting time settings to creating custom presets, these insights will help you optimize your heat press machine for various projects and materials.
“Accurate temperature settings are the key to successful heat press projects.”
Explore the world of heat pressing, experiment with different materials, and unleash your creativity. With the knowledge and know-how gained from this heat press temperature conversion guide, you’ll be well-equipped to tackle any future projects with confidence.
| Method 1: Changing Settings Using Arrow Keys | Method 2: Changing Settings Using Mode Button | Using the Cricut EasyPress 3: Adjusting Temperature Settings | |
|---|---|---|---|
| Temperature Conversion | Convert Celsius to Fahrenheit using arrow keys | Convert Celsius to Fahrenheit using mode button | Switch temperature unit from Celsius to Fahrenheit |
| Steps | 1. Step 1 2. Step 2 3. Step 3 |
1. Step 1 2. Step 2 3. Step 3 |
1. Step 1 2. Step 2 3. Step 3 |
Conclusion
Switching a heat press machine from Celsius to Fahrenheit is a simple process that can be accomplished using methods specific to your machine. By following the steps outlined in this heat press temperature conversion guide, you can ensure accurate temperature settings for your heat press projects.
Whether you need to change the settings using arrow keys, the mode button, or the Cricut Heat app, it’s important to refer to your machine’s user manual for detailed instructions. Consulting with reputable dealers or experts can also provide valuable guidance if you encounter any issues or have further questions.
Accurate temperature control is crucial in achieving successful heat transfers. By converting your heat press machine to Fahrenheit, you’ll have greater flexibility and ease in adjusting and maintaining the desired temperature for your specific materials and projects.
FAQ
How can I change the temperature settings on my heat press from Celsius to Fahrenheit using the arrow keys?
To change the temperature settings on your heat press from Celsius to Fahrenheit using the arrow keys, follow these steps:
What should I do if the first method doesn’t work for my heat press machine?
If the first method doesn’t work for your heat press machine, you can try this alternative method using the mode button:
How do I switch the temperature unit from Celsius to Fahrenheit on the Cricut EasyPress 3?
To switch the temperature unit from Celsius to Fahrenheit on the Cricut EasyPress 3:
How do I set the desired time on the Cricut EasyPress 3?
To set the desired time on the Cricut EasyPress 3:
Can I use the Cricut Heat app to adjust settings wirelessly on the EasyPress 3?
Yes, the Cricut Heat app provides a convenient way to adjust settings wirelessly on the EasyPress 3.
Can I create custom time and temperature settings for my EasyPress 3 using the Cricut Heat app?
Yes, the Cricut Heat app also allows you to create custom time and temperature settings for your EasyPress 3.
What are some important tips to keep in mind when using heat press machines?
Here are some important tips to keep in mind when using heat press machines:
