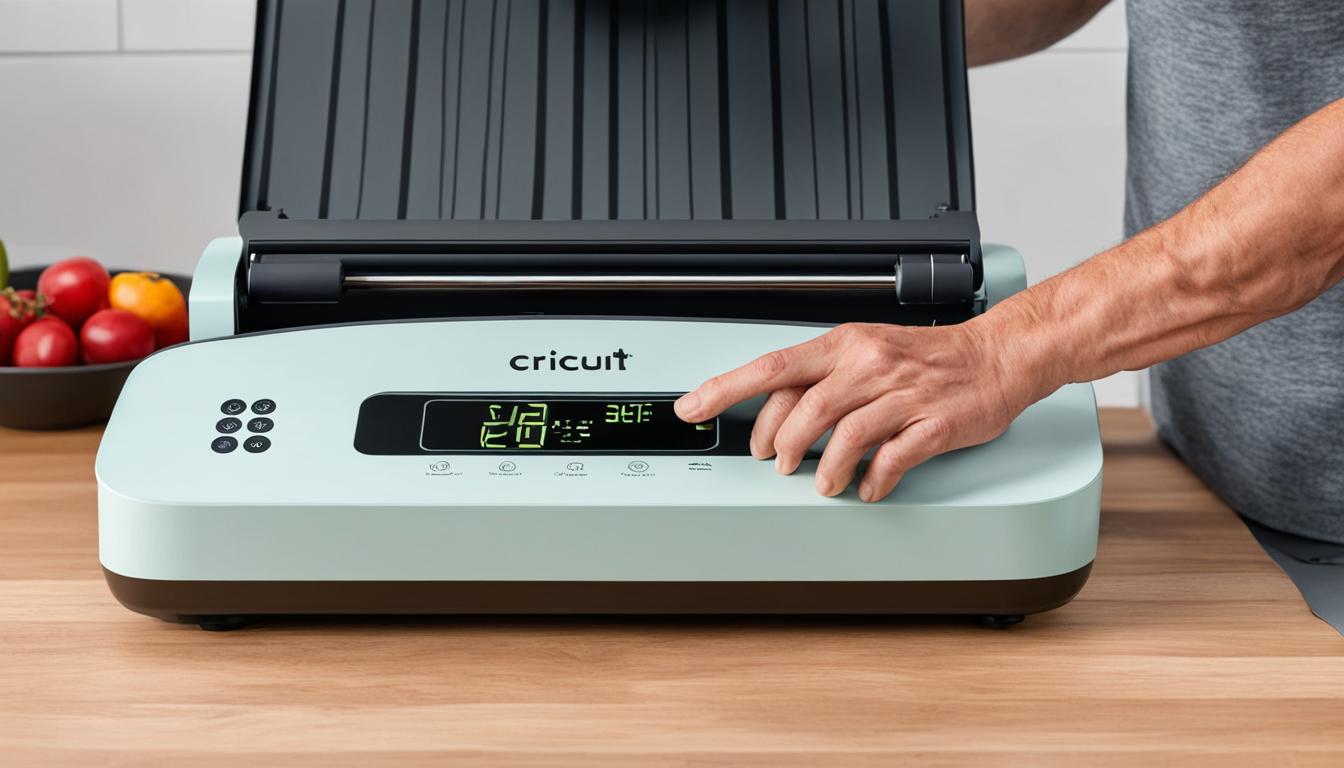
Gone are the days of struggling to convert Celsius to Fahrenheit when using your Cricut heat press. With just a few simple steps, you can easily change the temperature units on your heat press and maintain precision in your crafting projects. Whether you prefer to adjust the settings manually or use the convenient Cricut Heat app, switching from Celsius to Fahrenheit has never been easier.
To change the temperature units manually on your Cricut heat press, press the temperature button and use the plus and minus buttons to set the desired temperature. But how do you switch from Celsius to Fahrenheit? Simply press and hold the temperature button until you see the change on the screen. It’s that easy! And if you’re unsure about the recommended time and temperature settings for a specific project, you can find them in the Cricut Heat app.
Now, let’s dive into the details of adjusting the settings manually on your Cricut heat press and using the Cricut Heat app for seamless temperature control and customization.
Key Takeaways:
- Changing the temperature units on your Cricut heat press from Celsius to Fahrenheit is a simple process.
- You can adjust the settings manually using the buttons on the press itself.
- The Cricut Heat app offers wireless control and customization of time and temperature settings.
- You can create custom settings and save presets for easy selection.
- Understanding the control panel and lights on your heat press is essential for accurate temperature control.
Adjusting settings manually on the Cricut heat press
The Cricut EasyPress 3 allows you to easily adjust the time and temperature settings for your heat press. With just a few simple steps, you can achieve the perfect heat application for your projects.
To change temperature units on cricut heat press, follow these instructions:
- Press the temperature button on the control pod.
- Use the plus and minus buttons to adjust the temperature to your desired value.
- If you need to switch from Celsius to Fahrenheit, simply press and hold the temperature button until the units change on the screen.
That’s it! You’ve successfully adjusted the temperature on your Cricut heat press. Now let’s move on to adjusting the time settings.
To adjust the time on your Cricut heat press, follow these steps:
- Press the time button on the control pod.
- Use the plus and minus buttons to set the desired time.
You’re now ready to apply the perfect amount of heat and time to your projects. But how do you know when your heat press is ready?
The lights on the Cricut EasyPress 3 control pod provide important status signals:
- Orange light: This indicates that the heat press is heating up to the desired temperature.
- Green light: This means the heat press has reached and is maintaining the set temperature.
- Red light: If you see a red light, it indicates an error. Refer to the user manual or contact Cricut Member Care for assistance.
Remember to always refer to the recommended temperature and time settings for your specific materials and projects. Now that you know how to manually adjust the settings on your Cricut heat press, you have full control over your heat application process.
Stay tuned for the next section where I will explain how to adjust the settings using the Cricut Heat app.
Temperature and Time Settings for Common Materials
| Material | Temperature (°F) | Time (seconds) |
|---|---|---|
| Cotton T-shirts | 320 | 30 |
| Polyester | 300 | 15 |
| Canvas | 340 | 35 |
Adjusting settings using the Cricut Heat app
The Cricut Heat app is a convenient tool that allows you to effortlessly adjust the time and temperature settings for your Cricut EasyPress 3. With this wireless app, you can easily customize your heat press settings to achieve the perfect results for your projects.
To get started, simply plug in your heat press and launch the Cricut Heat app on your device. Select your Cricut EasyPress 3 from the app’s list of connected devices, and then begin a new project.
Within the app, you’ll have the ability to choose your desired transfer and base materials for your project. This ensures that the app provides you with the most accurate recommendations for time and temperature settings.
Additionally, you can select your pressing surface to further optimize the settings. Different surfaces may require different temperature and time combinations for optimal heat transfer.
With the Cricut Heat app, you can easily adjust the time and temperature settings wirelessly, saving you time and effort.
Once you’ve selected your materials and pressing surface, you can send the customized settings directly to your Cricut EasyPress 3. The app will display the progress of your heat press as it heats up to the desired temperature.
This wireless feature of the Cricut Heat app is particularly useful when creating custom settings for specific projects. It allows you to experiment with different combinations of time and temperature to achieve the best results for your unique creations.
Troubleshooting with the Cricut Heat app
In the event that you encounter any issues with the Cricut Heat app, Cricut provides comprehensive customer support to help you troubleshoot and resolve any technical difficulties. Their dedicated team is available to assist you and ensure that you can continue using the app seamlessly.
Now that you understand how to adjust settings using the Cricut Heat app, you’ll have even greater control over your heat press temperature and time settings. This flexibility allows you to achieve professional-grade results with your Cricut EasyPress 3 for a wide range of projects.
Creating a Custom Setting
If the recommended settings in the Cricut Heat app or guide don’t suit your needs, you have the option to create a custom setting for your Cricut EasyPress. This allows you to have more flexibility and precision in controlling the temperature of your heat press.
In the Cricut Heat app, select your EasyPress and navigate to the settings menu. Look for the option to set a custom time and temperature. Click on it to enter your desired values for temperature and time.
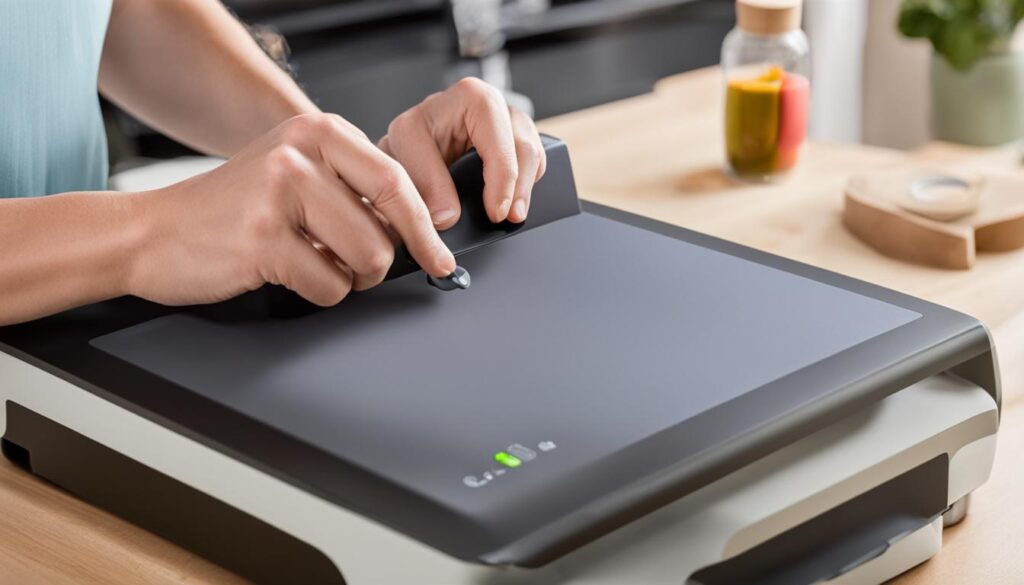
Additionally, you may have other settings available such as preheating or flip & press. Adjust these settings according to your project’s requirements.
Once you have entered all the desired settings, simply send them to your EasyPress. The heat press will store and utilize these custom values for your project.
This feature is particularly useful when working with unique materials or specific project requirements that deviate from the recommended settings. By creating a custom setting, you can ensure optimal results and achieve the desired outcome for your heat transfer projects.
Using presets for easy temperature and time selection
The Cricut EasyPress offers a convenient feature that allows you to save up to four preset temperatures and times for effortless selection. Once you have determined the recommended settings for your specific materials, you can easily save them as presets to eliminate the need for manual adjustments every time you work on a new project.
To save a preset, simply press and hold one of the preset buttons on the EasyPress until you hear a chime. This action stores the current temperature and time settings, making it easy for you to switch between different settings for various projects.
By utilizing the preset feature, you can streamline your workflow and eliminate the need for repetitive adjustments. This is especially useful if you frequently work with different types of materials that require specific temperature and time settings.
Benefits of using presets on the Cricut EasyPress
Using presets on the Cricut EasyPress offers several advantages:
- Time-saving: With presets, you can quickly access your desired temperature and time settings without manually adjusting them every time.
- Consistent results: By using the saved presets, you ensure that your heat application remains consistent across different projects.
- Convenience: Presets allow you to switch between different settings effortlessly, enabling you to work efficiently and effectively on multiple projects.
By taking advantage of the preset feature on the Cricut EasyPress, you can optimize your heat press experience and achieve consistent, professional results every time.
| Preset | Material | Temperature | Time |
|---|---|---|---|
| 1 | 100% Cotton | 325°F | 30 seconds |
| 2 | Polyester Blend | 300°F | 45 seconds |
| 3 | Canvas | 340°F | 25 seconds |
| 4 | Infusible Ink | 385°F | 40 seconds |
How to use presets on the Cricut EasyPress
Using presets on the Cricut EasyPress is as easy as a few simple steps:
- Power on your EasyPress and ensure it is properly heated up.
- Select the desired preset by pressing the corresponding preset button.
- Place your design or project on the designated pressing surface.
- Apply firm, even pressure to the EasyPress.
- Once the preset time has elapsed, lift the EasyPress to reveal your completed project.
By following these steps, you can take full advantage of the preset feature on the Cricut EasyPress and enjoy a more efficient and streamlined heat press experience.
Understanding the Control Panel and Lights
The control panel of the Cricut heat press is designed to provide important information and indicators for precise heat application. Familiarizing yourself with the control panel and lights will enable you to navigate the settings with ease.
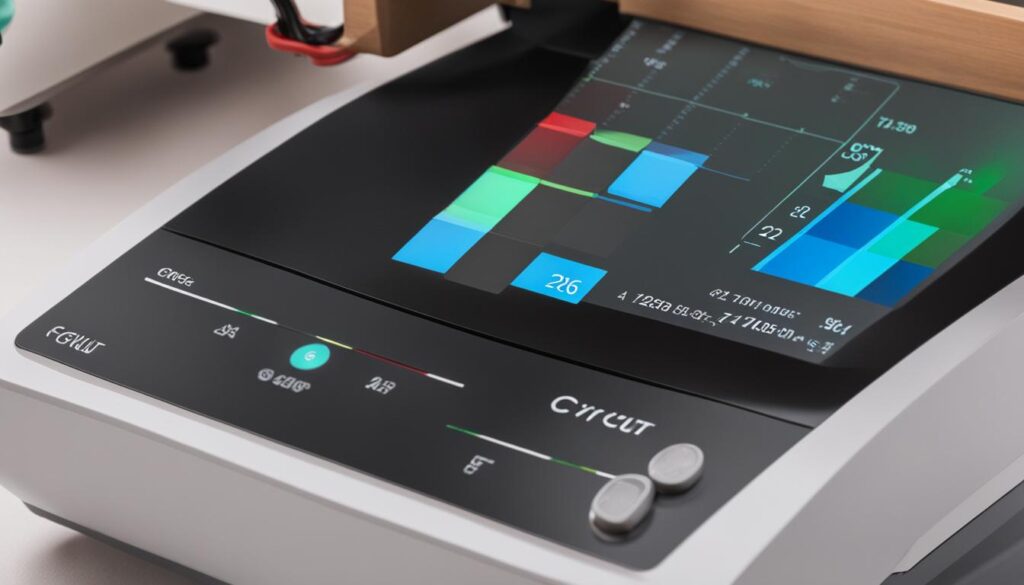
The control panel consists of dials, buttons, and lights that allow you to adjust the temperature and time settings.
The left dial controls the temperature. Each click represents a 5° increment, allowing you to fine-tune the heat according to your project’s requirements.
The right dial controls the timer. Each click represents a 1-second increment, enabling precise control over the duration of heat application.
The lights on the heat press serve as visual indicators to help you monitor the heating process:
- When you start the heat press, the light will be orange, indicating that the press is heating up to the set temperature.
- Once the press reaches the target temperature, the light will turn green, signifying that it is ready for use.
By paying attention to the control panel and lights, you can ensure accurate temperature and time settings, resulting in professional-quality heat transfers with your Cricut heat press.
Troubleshooting common errors
While using your Cricut heat press, you may encounter occasional errors or issues that can disrupt your crafting process. Understanding these common errors and how to troubleshoot them is essential for maintaining the proper functionality and safety of your heat press.
Types of errors
Some common errors that you may come across are control pod errors, machine and pod errors, and specific error detection. These errors can occur due to various factors such as temperature fluctuations, power supply issues, or mechanical malfunctions.
Control pod errors: These errors are related to the control pod and can be indicated by error codes on the screen, such as E001 or E005. They can often be resolved by restarting the heat press or performing a factory reset, which will be discussed in a later section.
Machine and pod errors: These errors are related to the machine and pod components of the Cricut heat press. They can be indicated by different LED lights on the handle, such as flashing red lights or error codes on the screen. These errors may require contacting Cricut Member Care for assistance or further troubleshooting.
Specific error detection: The Cricut heat press is designed with built-in safety features that detect certain errors or irregularities during operation. These errors can range from temperature discrepancies to sensor malfunctions. When an error is detected, the handle LED and screen will display specific indicators corresponding to the error type.
Troubleshooting steps
If you encounter an error with your Cricut heat press, here are some general troubleshooting steps you can follow:
- Refer to the user manual: The user manual provided with your heat press contains valuable information regarding troubleshooting and error resolution. It is recommended to consult the manual before proceeding with any troubleshooting steps.
- Restart the heat press: Sometimes, a simple restart can resolve minor errors. Turn off the heat press, unplug it from the power source, wait for a few minutes, and then plug it back in and turn it on. This can help in resetting the system and resolving temporary glitches.
- Contact Cricut Member Care: If the error persists or you are unsure about the troubleshooting steps, it is advisable to reach out to Cricut Member Care for further assistance. They have the expertise to guide you through specific error resolution steps or provide recommendations for professional repair if needed.
Resolving any errors or issues with your Cricut heat press is crucial to ensure its proper functionality and your safety. By following the recommended troubleshooting steps and seeking assistance when needed, you can quickly address common errors and get back to creating beautiful heat transfer projects.
| Error Type | Indicators | Troubleshooting Steps |
|---|---|---|
| Control pod errors | Error codes on the screen (E001, E005) | Restart the heat press, perform a factory reset |
| Machine and pod errors | Flashing red lights, error codes on the screen | Contact Cricut Member Care for assistance |
| Specific error detection | Handle LED and screen display specific indicators | Refer to user manual, restart heat press, contact Cricut Member Care if needed |
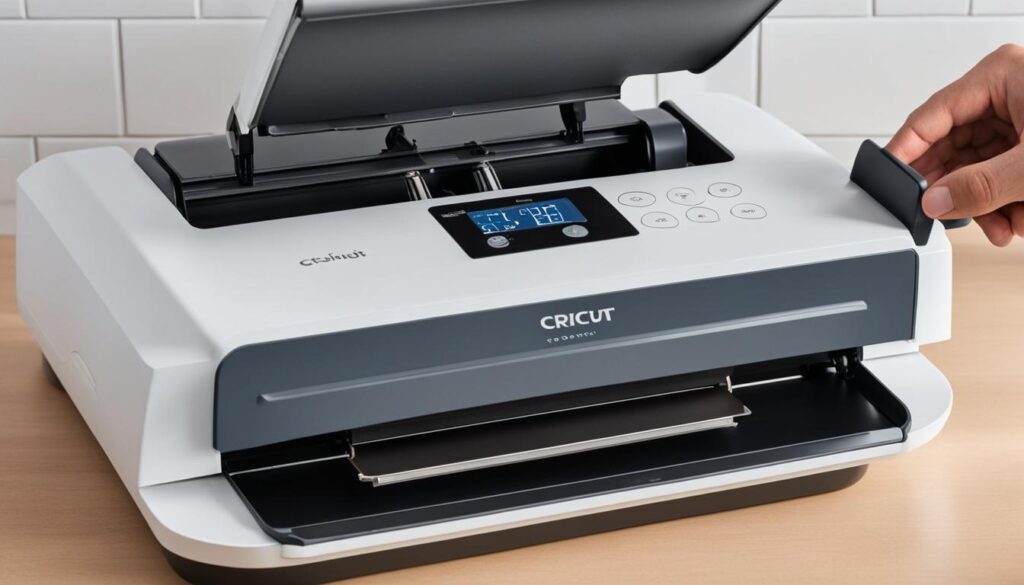
Through diligent troubleshooting and prompt resolution of errors, you can ensure a seamless crafting experience with your Cricut heat press.
Performing a Factory Reset
If you find yourself in a situation where you need to restore your Cricut heat press to its original factory settings, performing a factory reset is a straightforward process. This can be particularly useful if you want to start fresh or if you’re experiencing persistent issues with the settings and need to reset everything back to the default state. Here’s how you can perform a factory reset on your Cricut heat press:
- Locate the pinhole on the bottom of the control pod. It’s a small, round hole designed for resetting the device.
- Take a paperclip and gently insert it into the pinhole. Press and hold the reset button inside the hole for about 5 seconds.
- As you hold the reset button, you will hear a chime or a beep sound. This indicates that the factory reset mode has been activated.
- After you release the reset button, the machine and pod will shut down and then restart automatically.
- Once the restart is complete, your Cricut heat press will be back to its default preset settings, as if it were brand new.
Performing a factory reset can help resolve any software-related issues and ensure that your heat press is functioning properly. Just keep in mind that a factory reset will erase any custom settings or configurations you’ve made, so be sure to save or document any important settings before performing the reset.
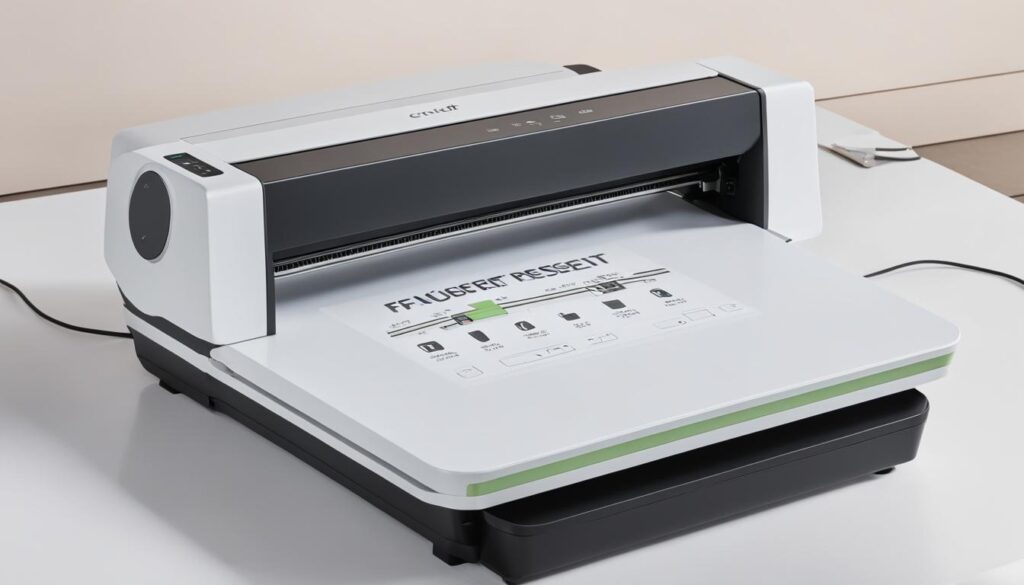
Tips for using Cricut EasyPress Mini
The Cricut EasyPress Mini is a versatile tool designed for smaller, more detailed iron-on projects. To ensure successful results, here are some tips and instructions for using the Cricut EasyPress Mini:
- Prepare your base material: Before starting any project, make sure your base material is clean, at room temperature, and completely dry. This will help in achieving optimal heat transfer.
- Create a firm pressing surface: For objects with curved or shapely surfaces, it’s essential to provide a firm pressing surface. You can use a shoe form, hat form, or folded towel inside the material to create stability and ensure even heat distribution.
- Follow design size recommendations: The Cricut EasyPress Mini works best with small designs. When choosing or creating your design, refer to the recommended size guidelines for the Mini. Adhering to these recommendations will help achieve precise and consistent results.
- Cover all areas and apply recommended pressure: The key to successful iron-on projects with the Mini is to cover all areas of the design and apply the recommended pressure. Ensure that every part of the design comes into contact with the heat plate and press firmly for the designated time.
- Refer to specific project instructions: Different iron-on and Infusible Ink projects may have specific instructions and temperature settings. Always refer to the specific project instructions provided by Cricut to ensure that you are using the correct settings for your project.
By following these tips and instructions, you can make the most out of your Cricut EasyPress Mini and achieve professional-looking iron-on results for your smaller projects.
Conclusion
Changing the temperature units on your Cricut heat press from Celsius to Fahrenheit is a breeze. Whether you prefer to manually adjust the settings using the press itself or take advantage of the user-friendly Cricut Heat app, you have full control over the temperature and time for precise heat application. Customize and save preset settings for easy selection, troubleshoot any potential errors that may arise, and consider the versatility of the Cricut EasyPress Mini for smaller projects.
By familiarizing yourself with the controls, understanding the recommended guidelines, and following the instructions provided, you can ensure successful heat transfers and achieve the desired results in all your crafting projects. With the Cricut heat press at your disposal, the possibilities for creating personalized garments, accessories, and home decor items are endless.
So go ahead and unleash your creativity with the Cricut heat press. Convert Celsius to Fahrenheit effortlessly, explore different settings, and embark on your crafting journey with confidence. With precise heat application, you can bring your designs to life and make a statement with every project. Get started today and elevate your crafting game with the Cricut heat press!
FAQ
How do I switch my Cricut heat press from Celsius to Fahrenheit?
To change the temperature units on your Cricut heat press, press and hold the temperature button until you see the units change on the screen. You can also use the Cricut Heat app to adjust the temperature settings wirelessly.
How can I manually adjust the temperature settings on my Cricut heat press?
To manually adjust the temperature on your Cricut heat press, press the temperature button and use the plus and minus buttons to set the desired temperature.
Can I adjust the temperature settings on my Cricut heat press using the Cricut Heat app?
Yes, you can adjust the temperature settings on your Cricut heat press wirelessly using the Cricut Heat app. Simply select your press, choose your transfer and base materials, select your pressing surface, and send the settings to your EasyPress.
How do I create a custom temperature setting on my Cricut heat press?
To create a custom temperature setting, select your press in the Cricut Heat app and choose the option to set a custom time and temperature. Enter the desired values for temperature and time, along with any additional settings, and send the custom settings to your EasyPress.
Can I save preset temperature settings on my Cricut heat press?
Yes, you can save up to four preset temperatures and times on your Cricut heat press. To save a preset, press and hold one of the preset buttons until you hear a chime. This allows for quick and easy selection of different settings for different projects.
How do I navigate the control panel and lights on my Cricut heat press?
The control panel on your Cricut heat press displays important information and indicators. The left dial adjusts the temperature, while the right dial controls the timer. The lights on the press indicate the status of the heating process.
What should I do if I encounter errors with my Cricut heat press?
If you encounter errors with your Cricut heat press, refer to the user manual or contact Cricut Member Care for assistance. It’s important to resolve any errors before using the heat press to ensure proper functionality and safety.
How can I perform a factory reset on my Cricut heat press?
To perform a factory reset on your Cricut heat press, locate the pinhole on the bottom of the control pod. Use a paperclip to press and hold the reset button for 5 seconds. The machine and pod will then restart with the default preset settings.
What are some tips for using the Cricut EasyPress Mini?
When using the Cricut EasyPress Mini, make sure your base material is at room temperature and completely dry. For objects with shapely surfaces, use a shoe form, hat form, or folded towel inside to create a firm pressing surface. Follow the specific instructions for iron-on and Infusible Ink projects with the Mini.
How can I convert the temperature units on my Cricut heat press?
By following the instructions to switch from Celsius to Fahrenheit, you can easily convert the temperature units on your Cricut heat press for your crafting projects.
