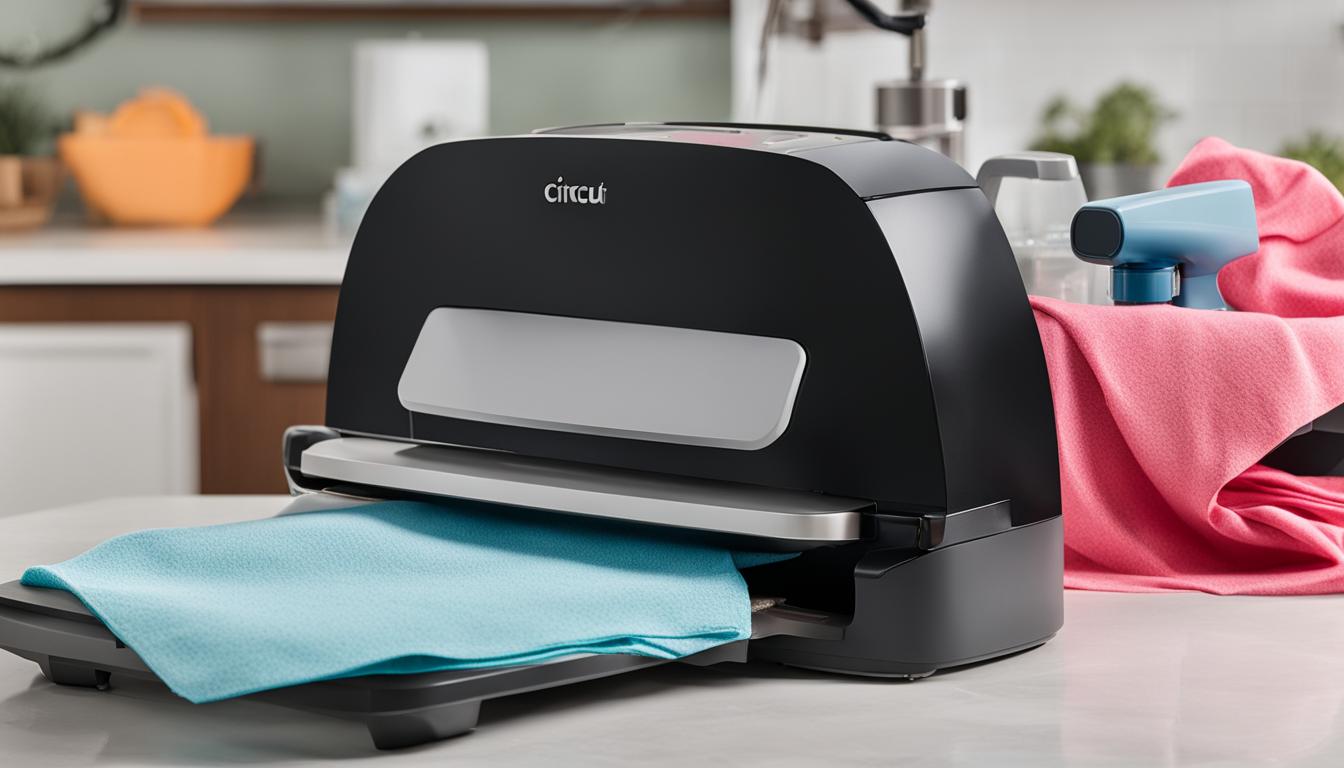
To clean your Cricut heat press effectively and keep it in pristine condition, there are some important tips and best practices to follow. Proper cleaning and maintenance will enhance the longevity of your heat press and ensure optimal performance. In this guide, I will provide step-by-step instructions and useful cleaning methods to help you keep your Cricut heat press clean and functional.
Whether you’re a seasoned crafter or a beginner, knowing how to clean your Cricut heat press is essential. Without regular cleaning, residue and grime can build up, affecting the quality of your projects. So, let’s dive into the cleaning tips and best practices for your Cricut heat press.
Key Takeaways:
- Proper cleaning and maintenance are crucial for the longevity and performance of your Cricut heat press.
- Gather essential tools such as a rag, EZ-off hot iron cleaner, teflon sheet, and tweezers before cleaning.
- Follow specific steps for cleaning a hot or cold heat press using the right cleaning materials.
- Take note of important tips, like turning off the heat press before cleaning and avoiding solvents.
- Be aware of fabric melting points to prevent damage to your projects and heat press.
Essential Tools for Cleaning
Before you begin cleaning your Cricut heat press, it’s important to gather the necessary tools and supplies. Having the right equipment will ensure an effective cleaning process and help maintain the quality of your heat press. Here are the essential items you will need:
- A rag
- EZ-off hot iron cleaner
- A scrap piece of fabric
- A teflon sheet or protective paper
- Heat protective gloves
- Tweezers
- Ventilated area
When cleaning your Cricut heat press, these tools will come in handy for different cleaning tasks. The rag can be used to apply the cleaning solution, while the EZ-off hot iron cleaner will help remove grime and residue from the heat press. The scrap piece of fabric is ideal for conducting a test press after cleaning to ensure there is no leftover residue. Using a teflon sheet or protective paper will protect the heat press surfaces, while heat protective gloves will keep your hands safe during the cleaning process. Tweezers can be useful for removing any vinyl or other material stuck on the platen. Lastly, make sure you clean your heat press in a well-ventilated area to avoid inhaling any fumes from the cleaning solution.
Having these essential tools readily available will make the cleaning process more efficient and effective, allowing you to maintain the performance and longevity of your Cricut heat press.
Testimonial:
“Using the right tools for cleaning my Cricut heat press has made a significant difference in maintaining its performance. The EZ-off hot iron cleaner and heat protective gloves have been my go-to choices for effective cleaning. With these essential tools, the cleaning process has become much easier and more convenient. I highly recommend investing in these tools to keep your heat press in top shape!”
Cleaning a Hot Heat Press
If your Cricut heat press is still hot, cleaning it can be easier and more effective. Follow this step-by-step guide to clean your heat press and remove any grime or build-up.
- Ensure the heat press is unplugged and the temperature is at least 300°F.
- Fold a rag and apply EZ-off hot iron cleaner onto it.
- Place a teflon sheet or protective paper on the bottom foam part of the heat press.
- Use tweezers to carefully peel off any vinyl hanging off the platen.
- Rub the rag onto the top platen, adding more cream if necessary.
- Continue scrubbing the platen until the grime begins to fall off.
- Use a clean side of the rag to wipe off any excess cream or heat transfer vinyl (HTV).
- Perform a test press with a scrap fabric to ensure no residue is left.
Cleaning a Cold Heat Press
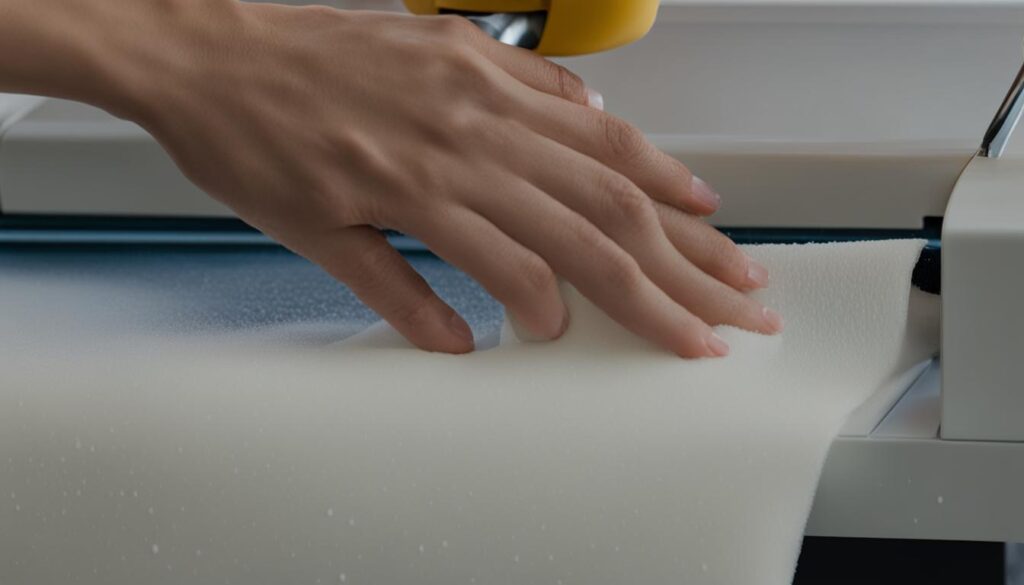
If your Cricut heat press has cooled down, you can still effectively clean it to maintain its optimal performance. Follow this step-by-step guide to clean your cold heat press:
- Ensure the heat press is unplugged for safety.
- Apply EZ-off hot iron cleaner onto a folded rag, making sure to saturate it evenly.
- Place a teflon sheet or protective paper on the bottom foam part of the heat press.
- Use tweezers to gently peel off any vinyl hanging off the platen.
- Rub the rag onto the top platen, applying firm yet gentle pressure. Add more iron cleaner cream if necessary.
- Continue scrubbing the platen in circular motions until the built-up residue starts to loosen and fall off.
- Use a clean side of the rag to wipe off any excess cream or heat transfer vinyl (HTV) remnants.
- To ensure no residue is left, perform a test press with a scrap fabric and inspect for any remaining marks or debris.
Regularly cleaning your cold Cricut heat press using these maintenance tips will help prolong its lifespan and ensure the longevity of your machine.
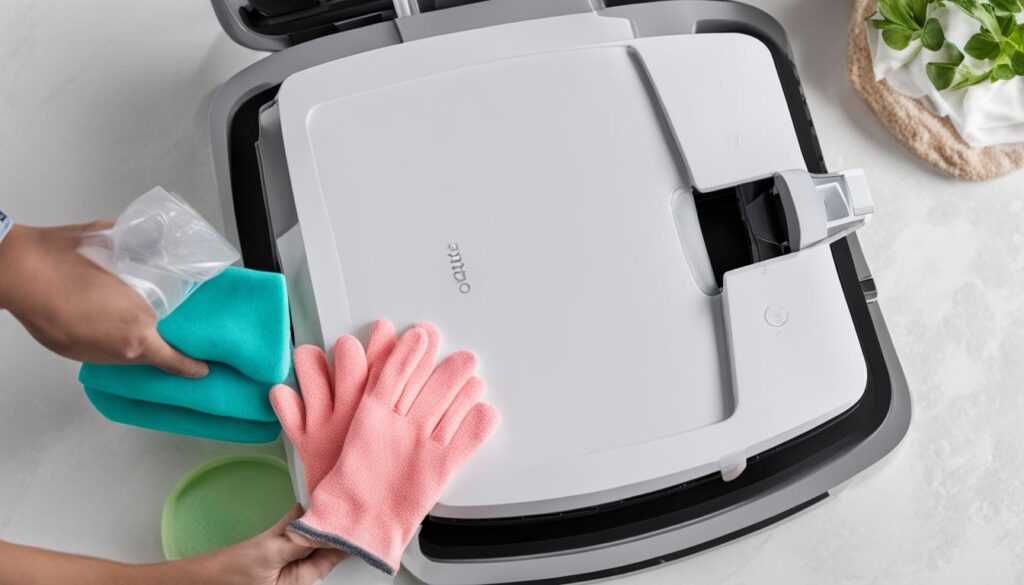
Remember, keeping your heat press clean is essential for maintaining its efficiency and preventing any potential issues during your crafting projects.
Important Tips for Cleaning
When it comes to cleaning your Cricut heat press, following these important tips will ensure that you maintain its performance and prolong its lifespan:
- Always turn off the heat press before attempting to clean it.
- Speed is key – clean up any messes before they get caked on.
- Use iron cleaner or EZ-off hot iron cleaner for optimal results.
- Avoid pressing anything that may melt in the heat press.
- Do not use solvents, as they can cause a fire hazard.
- Do not clean a teflon-coated heat press with abrasive materials.
- Do not use a scraper, as it may damage the teflon coating.
- Wash fabric projects before pressing to reduce residue.
- Be cautious of fabric content, as some fabrics have low melting points.
Following these best practices for cleaning your Cricut heat press will ensure that it stays in top condition and continues to provide excellent results. Remember to always prioritize safety and consult the manufacturer’s instructions for specific care guidelines.
Understanding Fabric Melting Points
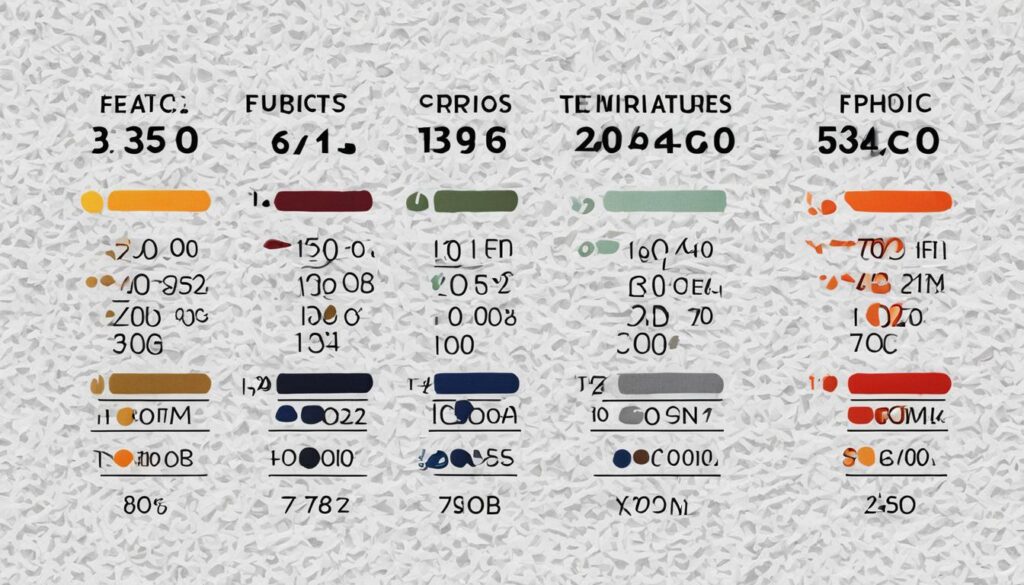
When working with a heat press, it is essential to understand the fabric melting points of the materials you are using. Different fabrications have varying melting points, and knowing these points will help you avoid damaging your fabrics and ensure heat press safety. Here are some common fabrications and their corresponding melting points:
| Fabric | Melting Point |
|---|---|
| Polypropylene | 320°F |
| Polyester | 482°F |
| Acrylic | 482°F |
| Cotton | 475°F |
| Rayon | 302°F |
| Nylon | 428°F |
Always check the fabric labels on your materials before using a heat press. Be cautious when ironing or pressing fabrics with low melting points. It is important to prevent the fabric from reaching its melting point to avoid irreversible damage. By understanding fabric melting points, you can ensure the safety and longevity of your heat press projects.
Cleaning Tips for an Iron
If you need to clean an iron, here are some helpful tips:
- Use iron cleaner or EZ-off hot iron cleaner with a q-tip or pipe cleaner to clean the steam holes.
- Fill the water reservoir with a water/vinegar mix and steam it out to clean the steam holes.
- If you don’t have iron cleaner, acetaminophen (Tylenol) can work to clean the bottom of your iron.
- Steam out all cleaning materials on scrap fabric before ironing a final project.
- Use distilled water in your iron to prevent clogging and staining from hard water minerals.
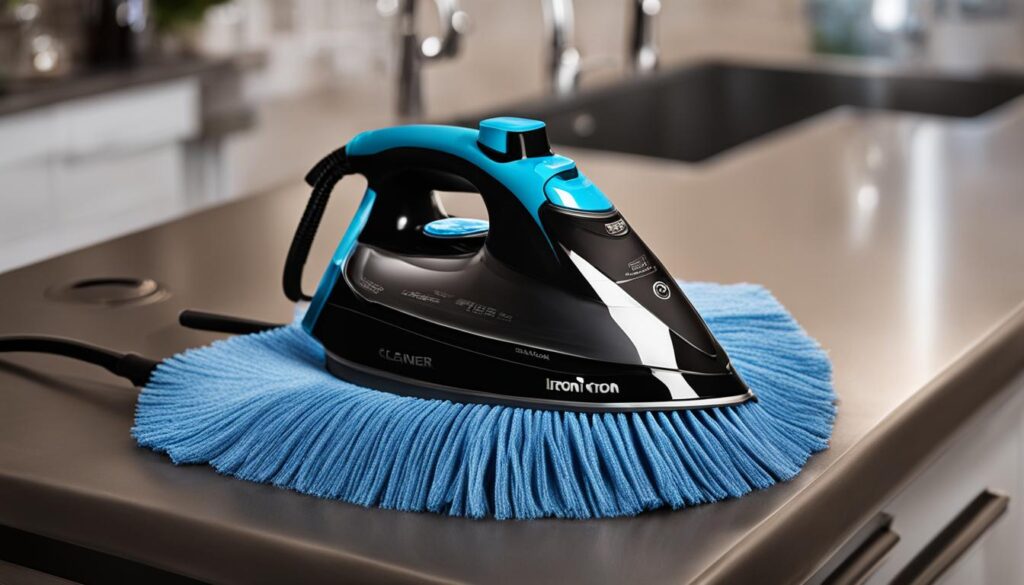
Keeping your iron clean is essential for proper functioning and preventing the transfer of residue onto your fabrics. With these cleaning tips, you can maintain your iron’s performance and ensure excellent results in your sewing and crafting projects.
Tips for Using a Cricut EasyPress 2
As a beginner crafter, using the Cricut EasyPress 2 can make heat pressing a breeze. Here are some helpful tips to ensure successful transfers:
- Preheat with Precision: Before starting your project, refer to the heat guide provided by Cricut to determine the ideal temperature, time, and pressure settings for your specific materials.
- Follow Instructions: Always follow the project instructions carefully. This includes preparing your materials according to the recommended guidelines.
- Remove Excess Material: Before pressing, take the time to carefully remove any excess vinyl or material around your design. This will help ensure clean and precise transfers.
- Clean for Consistency: Over time, residue or grime may accumulate on the heat plate. Regularly clean your EasyPress 2 to maintain optimal performance and consistent results.
With these tips in mind, you’ll be well-equipped to create stunning heat press projects using the Cricut EasyPress 2.
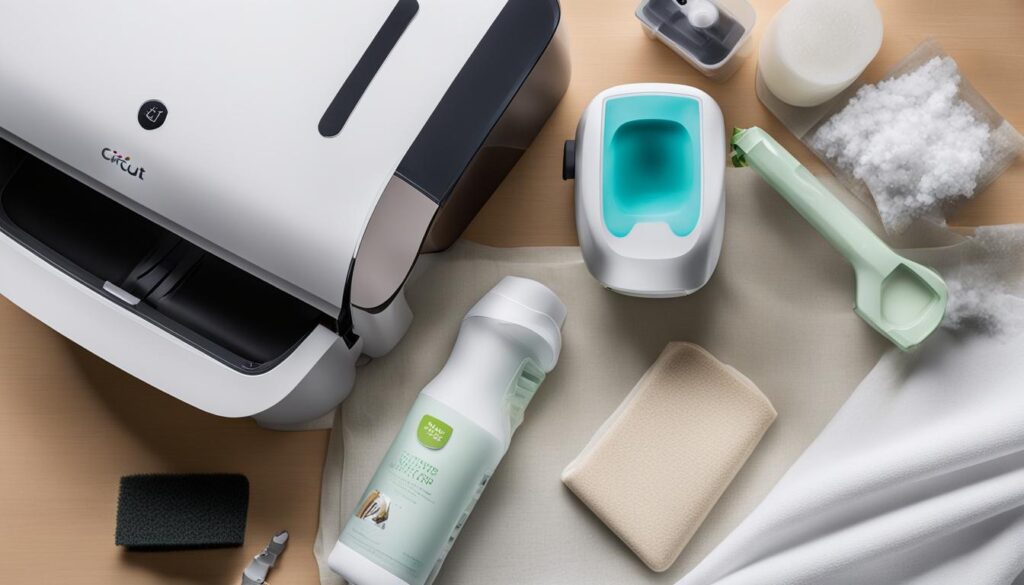
My project using Cricut EasyPress 2:
“I recently used the Cricut EasyPress 2 to personalize a t-shirt for a friend’s birthday. Following the recommended temperature and time settings for the iron-on vinyl, I easily achieved a professional-looking result. The EasyPress 2’s even and consistent heat distribution ensured that my design adhered perfectly to the fabric. It’s truly a game-changer for beginner crafters like myself!”
My Experience with Cricut EasyPress 2
Let me share my personal experience with the Cricut EasyPress 2 and how I learned the importance of heat press cleaning. As a passionate crafter, I was excited to try out this innovative heat press machine for my projects. However, I soon discovered that not properly cleaning the EasyPress 2 can lead to issues.
During my initial projects, I neglected to clean the heat press regularly. Over time, I noticed residue and grime building up on the heat plate, affecting the quality of my transfers. Designs were not adhering properly, and the end results were disappointing.
Realizing that I needed to take better care of my EasyPress 2, I started researching the best cleaning methods. That’s when I came across the EZ-off hot iron cleaner. This product proved to be a game-changer for me.
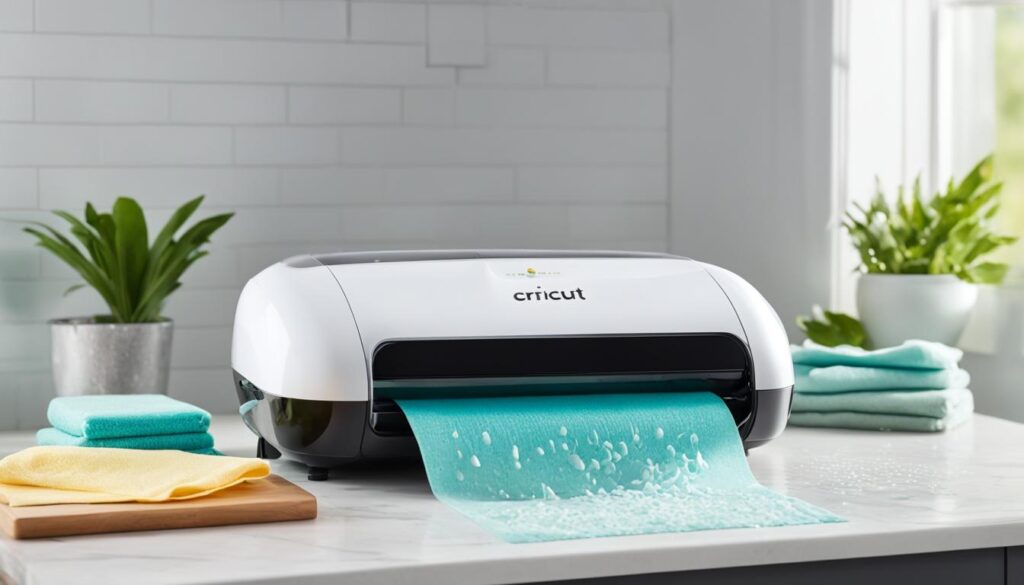
The EZ-off hot iron cleaner effectively removed the residue and grime from the heat plate, restoring its optimal performance. I was amazed at how easy it was to clean the EasyPress 2 using this cleaner. It saved me time and frustration, allowing me to focus on my crafting projects without worrying about transfer quality.
With the proper cleaning routine in place, I was able to successfully complete my projects using the EasyPress 2. The clean heat plate ensured consistent and reliable transfers, giving my creations a professional finish.
From my personal experience, I cannot stress enough the importance of heat press cleaning, especially when using the Cricut EasyPress 2. Regular maintenance and using effective cleaning products like the EZ-off hot iron cleaner are key to achieving excellent transfer results.
Conclusion
Proper cleaning and maintenance are vital for ensuring the optimal condition and performance of your Cricut heat press. By following the step-by-step cleaning guide and implementing the tips and best practices mentioned in this article, you can prolong the longevity of your heat press and avoid any potential issues that may arise from neglecting its maintenance.
Remember to use the recommended tools, such as a rag, EZ-off hot iron cleaner, and a teflon sheet or protective paper. Cleaning your heat press regularly, both when it is hot and when it is cold, will help remove any grime or residue that may accumulate during use.
Additionally, understanding the fabric melting points is crucial when using a heat press. Different fabrics have varying melting points, so it is important to check the fabric labels and be cautious to avoid damaging the materials when applying heat. By taking these precautions and adopting optimal cleaning practices, you can enjoy a clean and functional Cricut heat press for years to come.
FAQ
How do you clean the Cricut heat press?
To clean the Cricut heat press, follow these steps: 1) Gather the necessary tools and supplies. 2) Fold a rag and apply EZ-off hot iron cleaner onto it. 3) Place a teflon sheet or protective paper on the bottom foam part of the heat press. 4) Use tweezers to peel off any vinyl hanging off the platen. 5) Rub the rag onto the top platen, adding more cream if necessary. 6) Continue scrubbing the platen until the muck starts to fall off. 7) Use a clean side of the rag to wipe off any excess cream or HTV. 8) Perform a test press with a scrap fabric to ensure no residue is left.
What are some effective cleaning methods for the cricut heat press?
Some effective cleaning methods for the cricut heat press include using an iron cleaner or EZ-off hot iron cleaner, scrubbing the platen with a rag, and performing a test press with a scrap fabric.
What are the best practices for cleaning the cricut heat press?
The best practices for cleaning the cricut heat press include turning off the heat press before cleaning, cleaning up any messes promptly, using suitable cleaning materials such as iron cleaner or EZ-off hot iron cleaner, and avoiding solvents or abrasive materials.
What are the maintenance tips for the cricut heat press?
Some maintenance tips for the cricut heat press include cleaning it regularly, avoiding pressing materials that may melt, not using solvents, and not scraping the teflon-coated heat press with abrasive materials.
How do I clean a hot heat press?
To clean a hot heat press, follow these steps: 1) Ensure the heat press is unplugged and at least 300°F. 2) Fold a rag and apply EZ-off hot iron cleaner onto it. 3) Place a teflon sheet or protective paper on the bottom foam part of the heat press. 4) Use tweezers to peel off any vinyl hanging off the platen. 5) Rub the rag onto the top platen, adding more cream if necessary. 6) Continue scrubbing the platen until the muck starts to fall off. 7) Use a clean side of the rag to wipe off any excess cream or HTV. 8) Perform a test press with a scrap fabric to ensure no residue is left.
How do I clean a cold heat press?
To clean a cold heat press, follow these steps: 1) Ensure the heat press is unplugged. 2) Apply EZ-off hot iron cleaner onto a folded rag. 3) Place a teflon sheet or protective paper on the bottom foam part of the heat press. 4) Use tweezers to peel off any vinyl hanging off the platen. 5) Rub the rag onto the top platen, adding more cream if necessary. 6) Continue scrubbing the platen until the muck starts to fall off. 7) Use a clean side of the rag to wipe off any excess cream or HTV. 8) Perform a test press with a scrap fabric to ensure no residue is left.
What should I keep in mind when cleaning the cricut heat press?
When cleaning the cricut heat press, remember to turn off the heat press before cleaning, clean up messes promptly, use appropriate cleaning materials such as iron cleaner or EZ-off hot iron cleaner, and avoid solvents or abrasive materials.
How do fabric melting points affect the cleaning process?
Fabric melting points are important to consider when using a heat press. Different fabrications have varying melting points, so it’s essential to know the fabric content of your project to prevent damage or accidents. Always check fabric labels and be cautious when ironing or pressing fabrics with low melting points.
What are some tips for cleaning an iron?
Some tips for cleaning an iron include using iron cleaner or EZ-off hot iron cleaner with a q-tip or pipe cleaner to clean the steam holes, filling the water reservoir with a water/vinegar mix to steam out any residue, and using distilled water in the iron to prevent clogging and staining from hard water minerals.
What are some tips for using a Cricut EasyPress 2?
Some tips for using a Cricut EasyPress 2 include preheating it according to the heat guide provided by Cricut, using the recommended temperature, time, and pressure settings for successful transfers, following the project instructions and preparing the materials accordingly, and cleaning the EasyPress 2 if any residue or grime accumulates on the heat plate.
What is your experience with the Cricut EasyPress 2?
In my experience with the Cricut EasyPress 2, I have found it to be a user-friendly heat press. Despite some mishaps and cleaning mistakes I made, the EasyPress 2 was able to successfully complete my projects. I found using EZ-off hot iron cleaner to be effective in removing residue from the heat press.
What are the optimal cleaning practices for the Cricut heat press?
The optimal cleaning practices for the Cricut heat press include following the step-by-step cleaning guide, using the recommended tools and supplies, being cautious of fabric melting points, and cleaning the heat press regularly to prevent residue build-up.
